How to Clean a Smoker?
On this page (3 sections)
The easiest way to clean a smoker is by performing a routine maintenance cleaning after every few smokes, followed by a more comprehensive deep clean every few months. This keeps your smoker running efficiently and ensures your food always tastes great. You’ll primarily focus on removing grease and carbon buildup.
Dirt and grime can affect your smoker’s performance and the flavor of your food. We found that regular cleaning also extends the lifespan of your equipment. Don’t let a dirty smoker ruin your BBQ experience; prevention is key with simple cleaning steps.
TL;DR:
- Clean after every use for best results.
- Scrape off loose debris and grease.
- Use a degreaser for stubborn buildup.
- Don’t forget the grates, water pan, and interior walls.
- Rinse thoroughly and dry completely to prevent rust.
Let’s walk through exactly how to clean your smoker, step by step, so you can enjoy delicious, smoke-infused meals every time.
Mastering Your Smoker Cleaning Routine
Keeping your smoker spotless isn’t just about appearances; it’s about maintaining peak performance and ensuring delicious, consistent results every time you fire it up.
Think of it like tuning up your car. Regular maintenance prevents bigger problems down the road. We found that a clean smoker lasts longer and produces better-tasting food.
Gathering Your Cleaning Arsenal
Before you dive in, let’s make sure you have all the necessary tools. Having everything ready saves time and makes the process much smoother.
You probably have most of these items around your house already. No need for fancy gadgets for the most part!
Essential Cleaning Tools
- Stiff-bristled brush or wire brush: For scrubbing grates and stubborn carbon.
- Plastic scraper or putty knife: For gently removing baked-on grease without scratching.
- Bucket of warm, soapy water (dish soap works great!): For general cleaning.
- Heavy-duty degreaser: For those really tough grease spots.
- Garden hose or pressure washer (use with caution!): For rinsing.
- Old rags or paper towels: For wiping and drying.
- Gloves: To protect your hands from grease and cleaning solutions.
- Trash bags or old newspaper: To catch debris and make cleanup easier.
We found that having a dedicated “smoker cleaning kit” makes the task less daunting. Just grab your bucket and go!
Pre-Cleaning Preparations: Getting Started Right
Before you start scrubbing, a few initial steps will make the whole process much easier. Safety first, always!
Make sure your smoker is completely cool before you touch it. You don’t want any burns or surprises.
- Let it cool down completely: This is crucial! Never clean a hot smoker.
- Remove all removable parts: Grates, water pans, heat deflectors, and any other accessories.
- Scrape out loose debris: Use your plastic scraper to remove any large pieces of ash, food bits, or carbon.
- Empty the ash pan: If your smoker has one, clear it out. Ash can be surprisingly corrosive.
You’ll be surprised how much loose gunk can come out just from these first few steps. It really helps for the deeper clean.
The Post-Smoke Quick Clean: Your Best Defense
This is your routine maintenance. Think of it as brushing your teeth after every meal – it prevents cavities (or in this case, major buildup!).
A quick clean after each use prevents grease and carbon from hardening, saving you a lot of effort later. For model-specific steps, see our electric smoker cleaning guide.
Here’s your quick-clean checklist:
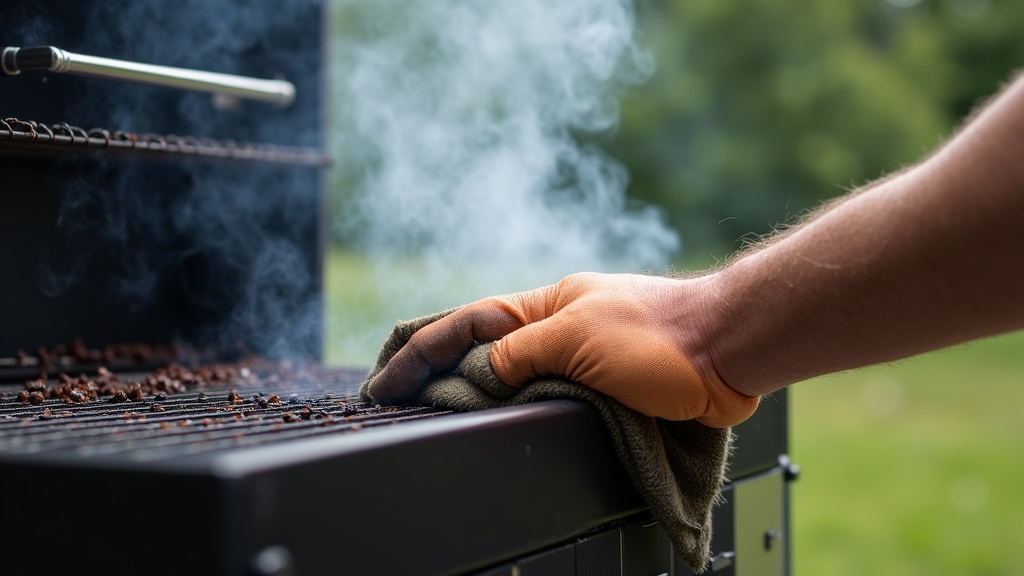
- Scrape grates while still warm (but not hot!) with a stiff brush.
- Wipe down interior surfaces with paper towels.
- Empty and rinse the water pan.
- Remove and dispose of ash.
- Cover your smoker to protect it from elements.
This simple routine only takes a few minutes but makes a huge difference in the long run. We found users who do this rarely need intense deep cleans.
Deep Cleaning Your Smoker: Tackling the Tough Stuff
Every few months, or after about 5-10 smokes, your smoker will need a more thorough deep clean. This is where you really get into the nitty-gritty.
This process might take a bit longer, but it’s essential for maintaining your smoker’s efficiency and the purity of your food’s flavor.
Cleaning the Grates
Your grates are where the magic happens, and they collect a lot of buildup. Clean smoker grates mean better airflow and fewer sticking issues.
Many experts recommend tackling the grates first (BBQGuys). They are often the dirtiest part.
- Soak if needed: For really stubborn grime, let grates soak in a bucket of warm, soapy water for an hour or so.
- Scrub thoroughly: Use a stiff wire brush or a special grill brush to scrape off all carbonized food and grease.
- Wash and rinse: Rinse them well with a hose. You want no soap residue left behind.
- Dry completely: Air dry or towel dry to prevent rust.
You’ll notice your food cooks more evenly on clean grates. It’s a small detail that makes a big impact.
De-greasing and Cleaning the Interior
The inside of your smoker can become quite a greasy mess. This is where your degreaser comes in handy.
We found that regular dish soap works well for moderate buildup, but a dedicated degreaser really cuts through years of grease.
- Spray degreaser: Apply a heavy-duty degreaser to all interior surfaces, including walls, lids, and heat deflectors. Follow product instructions for dwell time.
- Let it work: Give the degreaser some time to break down the grease – usually 5-10 minutes.
- Scrape and wipe: Use your plastic scraper or a putty knife to gently remove softened grease and carbon. Follow up with old rags.
- Rinse carefully: If your smoker allows, use a hose to rinse the interior. Be careful not to spray electrical components. If not, use damp rags to wipe down and rinse multiple times.
- Dry thoroughly: This is critical! Open the smoker and let it air dry completely. You can even run it on low heat for 15-20 minutes to evaporate any remaining moisture. We found this prevents rust.
Don’t forget the inside of the lid! Grease drips can occur there and affect your food. It’s part of the overall cleanliness.
Cleaning the Water Pan and Drip Tray
These components catch a lot of moisture and drippings, so they need special attention. A clean water pan helps maintain consistent humidity levels.
Neglecting these can lead to unpleasant odors and even mold (CDC advises against mold growth for health).
- Empty and scrape: Remove any accumulated water or solidified grease.
- Wash with soap and water: Use warm, soapy water and a sponge or brush to clean thoroughly.
- Degrease stubborn spots: If there’s baked-on grease, use a degreaser.
- Rinse and dry: Ensure they are completely clean and dry before putting them back.
A shiny water pan makes a surprisingly big difference to the overall feel of your smoker’s hygiene. It also impacts flavor purity.
Maintaining the Exterior: Keeping It Looking Good
While the inside is about performance, the outside is about protection and pride. A well-maintained exterior deters rust and looks great.
Cleaning the outside is often the easiest part, yet it’s sometimes overlooked. Don’t let your smoker become an eyesore!
- Wipe down with damp cloth: For painted or porcelain-coated surfaces, this is usually enough.
- Stainless steel polish: If you have a stainless steel smoker, use a dedicated polish to keep it gleaming and prevent fingerprints.
- Clean wheels and legs: Don’t forget the base! Wipe away dust, dirt, and any grease splatter.
- Check for rust: Address any small spots of rust immediately with a wire brush and rust-inhibiting paint (if applicable to your smoker’s material).
A clean exterior also makes you more likely to want to use your smoker. Presentation matters, even for a BBQ appliance.
The Final Step: Seasoning Your Smoker After a Deep Clean
Just like a cast-iron pan, re-seasoning your smoker after a deep clean is important. This helps protect the interior and prepares it for optimal cooking.
Seasoning helps prevent rust and creates a non-stick surface, improving performance (Lodge Cast Iron recommends seasoning after cleaning).
- Apply cooking oil: Lightly coat all interior surfaces with a high-heat cooking oil (like vegetable or canola oil).
- Run on low heat: Fire up your smoker to a low temperature (around 225-250°F) for 1-2 hours.
- Let it cool: Allow the smoker to cool down completely.
You’ll notice a beautiful, protective sheen on the inside. Your smoker is now ready for its next delicious adventure.
Conclusion
You’ve now got the full playbook for maintaining a clean and efficient smoker. Remember, a little effort after each use goes a long way. This prevents tough buildup and keeps your flavors pure.
By following these steps, you’ll extend your smoker’s life and always deliver delicious, memorable BBQ. Your food (and your smoker) will thank you. Get out there and enjoy those perfectly smoked meals, knowing your equipment is in top shape!
Frequently Asked Questions
How often should I deep clean my smoker?
We recommend a deep clean every 3-5 uses, or roughly every two to three months. This schedule balances thoroughness with not overdoing it. Consistent quick cleans will reduce the need for super-frequent deep cleans.
Can I use a pressure washer inside my smoker?
Use a pressure washer with extreme caution. It can damage delicate components, strip paint, or force water into areas that lead to rust. We found a garden hose with a spray nozzle is usually sufficient. Always avoid spraying electrical parts.
Is it okay to leave a smoker dirty between uses?
Leaving a smoker dirty can lead to several problems. Old grease and food bits can attract pests, grow mold, and affect the flavor of your next cook. Regularly cleaning prevents these issues and ensures food safety.
What’s the best way to get rid of rust spots on my smoker?
For smoker rust spots, gently scrub with a wire brush or steel wool. After removing the rust, treat the area with high-heat rust-inhibiting paint if your smoker’s finish allows. Keep the smoker covered when not in use to prevent future rust.
Should I clean my smoker immediately after use?
It’s best to let your smoker cool down completely before cleaning. However, for grates, a quick scrape while they are still warm (but not hot!) can be very effective. Always prioritize safety first.