
How to Make Burnt Ends?
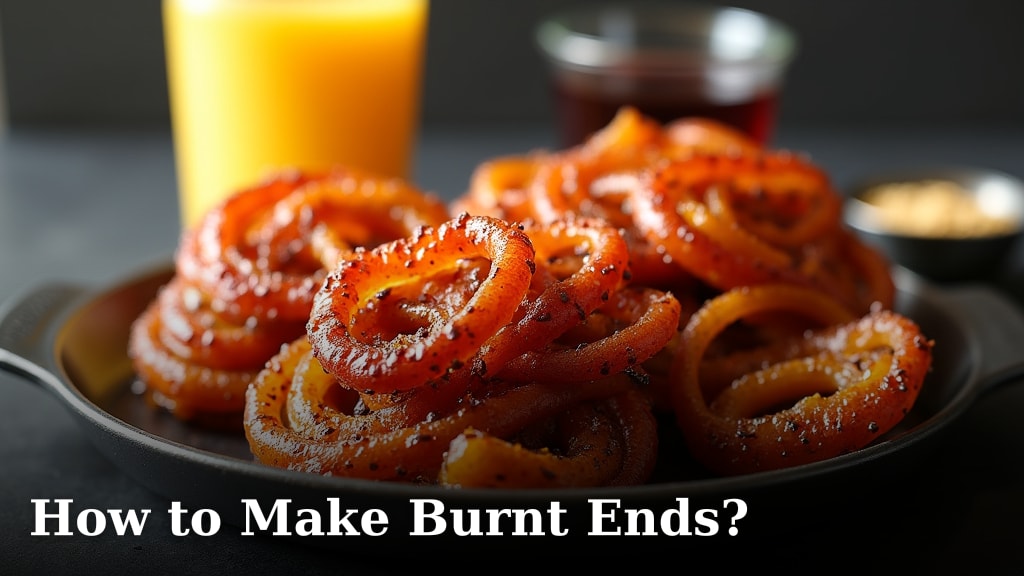
The best way to make burnt ends is to cook them low and slow, then finish them in a sauce. You want them to be melt-in-your-mouth tender with a sweet, sticky glaze. This classic barbecue treat starts with a flavorful brisket point or chuck roast. Get ready for some seriously delicious bites!
Many pitmasters agree that patience is key for amazing burnt ends. We found that achieving that perfect texture involves a two-stage cooking process. First, you braise or smoke the meat until it’s incredibly tender. Then, you chop it up and toss it with your favorite barbecue sauce for a final blast of heat. This creates those irresistible, caramelized edges everyone loves.
- Start with a quality cut of meat.
- Smoke or braise until fork-tender.
- Chop into bite-sized cubes.
- Toss with barbecue sauce.
- Bake until sticky and caramelized.
Ready to impress your friends with your barbecue skills? Let’s walk through exactly how to achieve perfect, juicy burnt ends at home.
Crafting Delicious Burnt Ends: Your Step-by-Step Guide
So, you’re ready to tackle the legendary burnt ends? You’ve come to the right place. We’re going to guide you through the entire process. It’s not as complicated as you might think. With a little patience and the right steps, you’ll be enjoying these smoky, sweet, and tender morsels in no time. Let’s get started on this barbecue adventure!
Choosing the Right Meat for Your Burnt Ends
The foundation of amazing burnt ends is the meat itself. What you choose will greatly impact the final flavor and texture. We want something that can stand up to a long cooking time and has enough fat to become incredibly tender.
The Classic Choice: Brisket Point
When most people think of burnt ends, they’re picturing them made from a beef brisket point. This is the fatty, flavorful end of the brisket. It’s marbled with fat, which is exactly what you need for these. The fat renders down during the long cooking process. This keeps the meat moist and adds a rich flavor. Many pitmasters swear by this cut for a reason. It’s the authentic way to do it.
A Terrific Alternative: Chuck Roast
Don’t have access to a full brisket or just want a simpler option? A beef chuck roast is a fantastic substitute. It’s generally more affordable and widely available. Like the brisket point, it has good marbling. This means it will also become wonderfully tender and flavorful with slow cooking. You might find it easier to handle for your first batch. We found it yields very similar results.
Selecting Your Cut: What to Look For
Whichever cut you choose, look for good marbling. This is the white flecks of fat within the muscle. It’s a sign of flavor and moisture. A well-marbled piece of meat will be more forgiving. It’s less likely to dry out during the extended cooking times required for burnt ends.
Preparing Your Meat for the Smoker or Oven
Once you have your meat, it’s time to get it ready for cooking. This involves trimming and seasoning. These steps are vital for building flavor from the outside in.
Trimming the Fat Cap
You’ll want to trim the thick, hard fat cap. Leave about a quarter-inch of fat. This thin layer of fat will help keep the meat moist. It also adds flavor as it renders. Too much fat can sometimes prevent rubs and smoke from penetrating. So, a little trim is usually a good idea.
The Magic of the Rub: Building Flavor Layers
A good rub is essential for burnt ends. It’s your first layer of flavor. Many pitmasters use a simple yet effective blend. A common base includes salt, black pepper, and garlic powder. Some folks add a touch of paprika for color and a hint of sweetness. We found that a 1:1:1 ratio of salt, pepper, and garlic powder is a great starting point.
You can get creative with your rub. Brown sugar adds sweetness and helps with caramelization. A little cayenne pepper can give it a subtle kick. Some people even add onion powder or a touch of chili powder. The goal is to create a flavorful crust. This crust will develop even more when you add the sauce later.
Applying the Rub Evenly
When you apply the rub, make sure you coat the entire surface of the meat. Gently pat it on. You don’t need to rub it in hard. Let the seasoning adhere naturally. Some people like to apply a binder first, like mustard or Worcestershire sauce. This helps the rub stick. We found that a thin layer of mustard works well for most rubs.
The Low and Slow Cooking Process: Stage One
This is where the patience comes in. Burnt ends need time to become tender. We’re cooking them low and slow to break down the connective tissues. This is what makes the meat melt-in-your-mouth.
Smoking Your Meat: The Traditional Approach
If you have a smoker, this is the ideal method for authentic burnt ends. Aim for a temperature between 225°F and 250°F. You want a nice, steady heat. Use wood chunks or chips that complement beef, like hickory, oak, or mesquite. This will infuse your meat with that signature smoky flavor. If you’re interested in a longer cooking process, our guide on how to smoke brisket overnight can help.
The smoking process can take anywhere from 3 to 6 hours. This depends on the size of your cut. You’re looking for the meat to reach an internal temperature of around 160°F to 165°F. At this point, it should have a beautiful dark bark. It will be tender but not quite falling apart yet. Many experts recommend keeping the smoke consistent during this initial phase.
Braising in the Oven: A Great Alternative
No smoker? No problem! You can achieve fantastic burnt ends using your oven. Preheat your oven to 275°F. Place your seasoned meat in a Dutch oven or a sturdy baking dish. Add a small amount of liquid to the bottom of the dish. Beef broth, beef stock, or even a dark beer works well. Cover the dish tightly with a lid or foil.
This braising method essentially steams the meat. It locks in moisture and tenderizes it beautifully. The cooking time will be similar to smoking, around 3 to 5 hours. You’ll know it’s ready when a thermometer inserted into the thickest part easily slides in. It should feel like probing butter. The meat should be very tender but still hold its shape.
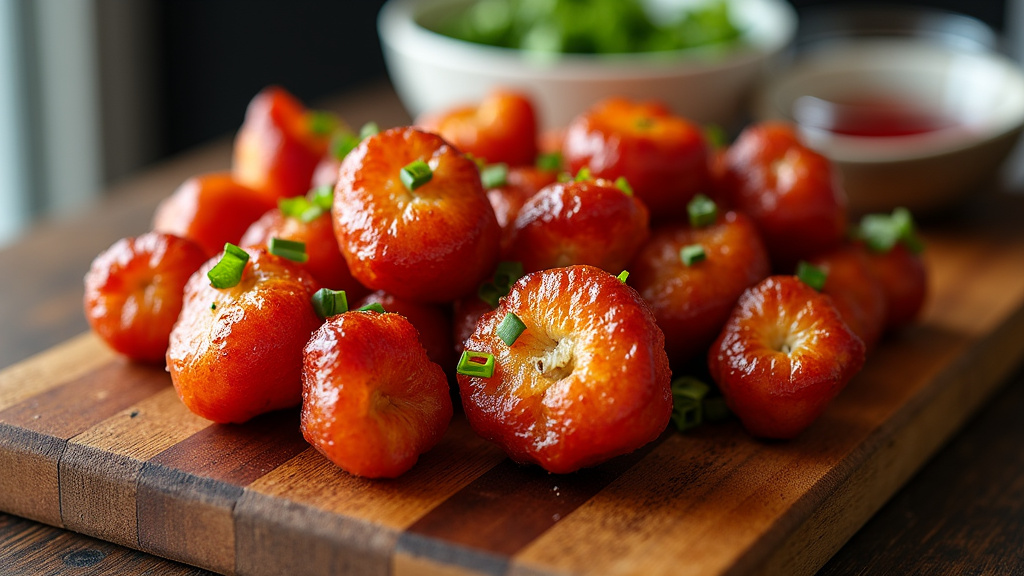
The Transformation: Chopping and Saucing
This is where your meat starts its journey to becoming true burnt ends. We’re going to cut it up and get it ready for that sticky, sweet finish.
Cubing the Tender Meat
Once your meat has reached that fork-tender stage, remove it from the smoker or oven. Let it rest for about 15-20 minutes. This allows the juices to redistribute. Then, cut the meat into roughly 1-inch cubes. Don’t worry if some pieces are a bit uneven. That’s part of the charm!
Look for the fattier, more marbled pieces to cube. These will yield the best results. You want each cube to have a good amount of surface area for the sauce to cling to. We found that using a sharp knife makes this step much easier. It prevents tearing the tender meat.
Choosing Your Barbecue Sauce
Now for the sauce! This is where you can really personalize your burnt ends. You can use your favorite store-bought barbecue sauce or make your own. A Kansas City-style sauce is a popular choice. It’s typically sweet, tangy, and tomato-based.
You can also doctor up a store-bought sauce. Adding a little brown sugar, honey, or maple syrup will boost the sweetness. A splash of apple cider vinegar can add more tang. Some people like to add a bit of Worcestershire sauce for umami depth. A dash of hot sauce can provide a little heat. The key is to choose a sauce you love. We found that a sauce with a good balance of sweet and savory works best.
Tossing the Cubes: Getting Them Coated
Place your meat cubes in a bowl. Pour your chosen barbecue sauce over them. Gently toss the cubes until they are evenly coated. You want every piece to have a nice layer of sauce. Don’t drown them, but make sure they’re well-covered. This is what will create that glorious sticky glaze.
The Final Bake: Caramelization Station
This last step is critical for achieving that signature burnt ends texture and flavor. We’re going to bake them until they’re sticky and irresistible.
Arranging for Maximum Glaze
Spread the sauced meat cubes out in a single layer on a baking sheet. You can line the baking sheet with parchment paper or foil for easier cleanup. This ensures that each cube gets direct heat. It allows the sauce to bubble and caramelize properly. Avoid overcrowding the pan. This can lead to steaming rather than caramelizing.
Baking to Perfection
Bake the burnt ends in a preheated oven at 300°F to 325°F. This higher temperature helps the sauce thicken and create that beautiful sticky crust. How long do they bake? Usually, about 20 to 30 minutes is sufficient. You’ll want to check on them periodically. Stir them once or twice during baking to ensure even coating and caramelization.
You’re looking for the sauce to become thick and syrupy. It should look beautifully caramelized and slightly browned around the edges. Be careful not to burn them. They should be sticky, not burnt to a crisp. Many barbecue enthusiasts say this is the most satisfying part to watch!
Enjoying Your Homemade Burnt Ends!
And there you have it! Your homemade burnt ends are ready to be devoured. Serve them hot, straight from the oven. They’re perfect as an appetizer, a side dish, or even as the star of your meal. You’ve earned this delicious reward for your patience and effort. Enjoy every single bite!
Here’s a quick checklist to help you remember the key steps:
- Choose a well-marbled brisket point or chuck roast.
- Trim excess fat and apply your favorite rub.
- Smoke or braise until the meat is fork-tender.
- Cut the tender meat into 1-inch cubes.
- Toss the cubes generously with barbecue sauce.
- Bake at 300-325°F until sticky and caramelized.
Conclusion
You’ve journeyed through the steps to create your own delicious burnt ends. Remember, patience is your best ingredient. From selecting the right cut to the final sticky glaze, each step builds towards that perfect bite. You’ve learned to smoke or braise, cube, and sauce your way to BBQ success. Now, it’s your turn to fire up the smoker or oven and experience the magic firsthand. Go ahead and surprise yourself with what you can create!
Frequently Asked Questions
Can I make burnt ends in an air fryer?
While air fryers are great for speed, they aren’t ideal for traditional burnt ends. The low and slow cooking process is essential for tenderness, which an air fryer can’t replicate. You might achieve a somewhat similar texture with pre-cooked meat, but it won’t be the same melt-in-your-mouth experience.
What if my burnt ends aren’t tender enough after the first cook?
If your meat isn’t fork-tender after the initial smoking or braising, don’t worry. You can continue cooking it until it reaches that desired tenderness. For smoking, maintain your low temperature. For oven-braising, simply cover it tightly and continue cooking until tender.
How do I prevent my burnt ends from drying out during the final bake?
Ensure your meat cubes are well-coated with barbecue sauce before baking. This sauce acts as a protective glaze. Also, avoid overcrowding the baking sheet, as this can lead to steaming instead of caramelizing. Keep an eye on them, and they should stay moist and delicious.
Can I use pork or chicken for burnt ends?
Traditionally, burnt ends are made with beef brisket point or chuck roast. While you could technically adapt the recipe for pork shoulder or chicken thighs, the flavor and texture profile will be quite different. We recommend sticking to beef for that classic burnt ends experience.
My barbecue sauce burned during the final bake. What went wrong?
Baking at too high a temperature for too long can cause the sugars in the barbecue sauce to burn. Try lowering your oven temperature slightly to 300°F, or watch your burnt ends closely during the final 20-30 minutes. Stirring them halfway through can also help ensure even caramelization without burning.
