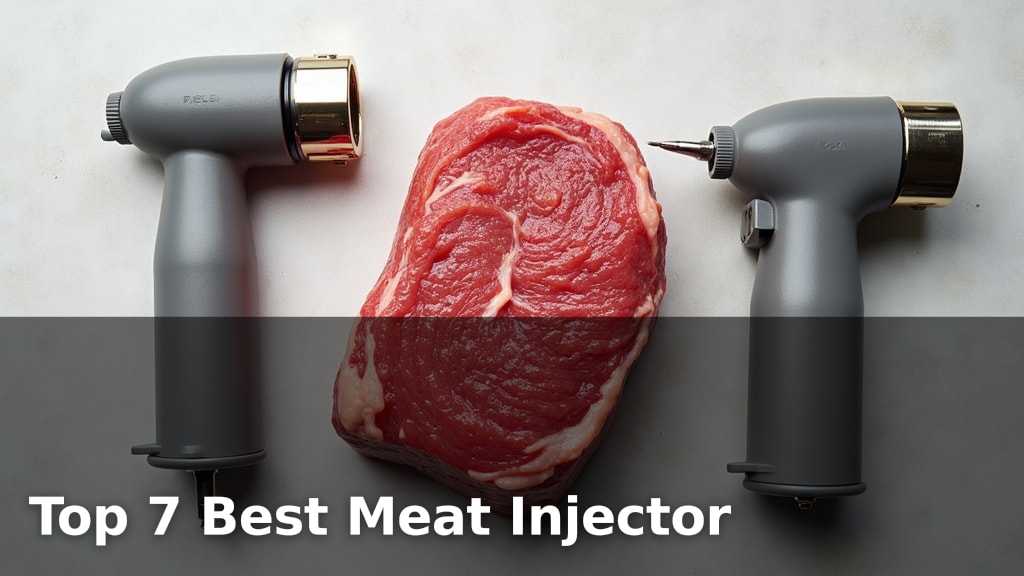
How to Inject a Brisket?
On this page (6 sections)
To inject a brisket, you need a meat injector, a flavorful liquid, and a brisket. The goal is to distribute the liquid evenly throughout the flat and point sections of the meat for maximum moisture and taste. This process helps keep your brisket juicy during long cooking times.
Many pitmasters swear by injecting their briskets. We found that injecting can significantly improve the brisket’s overall tenderness and flavor profile. It’s a simple step that makes a big difference, especially for those long, slow cooks.
- Choose the right injection liquid.
- Prepare your brisket for injecting.
- Properly inject the flat and point.
- Avoid common injection mistakes.
- Cook your brisket to perfection.
Are you ready to elevate your BBQ game? Let’s walk through exactly how to inject a brisket step by step, ensuring your next cook is your best one yet.
Selecting Your Brisket Injection Ingredients
Choosing the right injection liquid is like picking the perfect marinade for any other meat. You want something that adds moisture and enhances the natural beefy flavor of your brisket. But what exactly goes into a good injection?
We found that the best injection liquids often balance savory, salty, and sometimes a little sweet. The goal is to complement, not overpower, the taste of the beef. Think of it as an internal basting process.
Understanding Common Injection Components
Most injection recipes use a combination of a few key components. These work together to keep your brisket juicy and flavorful. Let’s break down what each part does for your cook. To further enhance your brisket’s flavor, consider exploring the best wood for smoking brisket to complement your injection.
The Liquid Base
The base of your injection is typically a liquid that can carry other flavors deep into the meat. It helps distribute everything evenly. What works best?
- Beef Broth or Consommé: This is a popular choice for good reason. It reinforces the natural beef flavor and adds a rich, savory note.
- Water: Simple and effective, water primarily adds moisture. You can use it as a base and build flavors with other ingredients.
- Apple Juice or Apple Cider Vinegar: These add a touch of acidity and sweetness. Many pitmasters use them to help tenderize the meat slightly.
- Worcestershire Sauce: A classic for beef, it brings a deep umami flavor. Use it sparingly, as it can be quite strong.
The Flavor Enhancers
Beyond the base, these ingredients bring the “wow” factor. They add layers of taste that make your brisket unforgettable. What flavors do you enjoy most?
- Salt: Essential for flavor, salt also helps the meat retain moisture. Make sure it’s fully dissolved to avoid gritty spots.
- Black Pepper: Freshly ground black pepper adds a subtle spice and aroma. It’s a classic pairing with beef.
- Garlic Powder & Onion Powder: These provide a savory, aromatic foundation that works well with beef.
- MSG (Monosodium Glutamate): While optional, a small amount of MSG can boost the savory, umami notes significantly. We found that many competition cooks use it.
- Brown Sugar or Honey: A little sweetness can balance the savory flavors. It also helps with bark formation during cooking.
- Hot Sauce: If you like a kick, a dash of your favorite hot sauce can add a nice background heat without being overwhelming.
Binders and Stabilizers (Optional)
Sometimes, pitmasters add things to help the injection liquid stay put or to create a more stable emulsion. Are these necessary for you?
- Hydrolyzed Vegetable Protein (HVP): Often found in commercial injections, HVP adds a meaty flavor and can help retain moisture.
- Phosphates: These food-grade salts are sometimes used to improve moisture retention. They are more common in commercial products.
For most home cooks, sticking to the basic liquid bases and flavor enhancers is perfectly sufficient. You don’t need to get overly complex to get great results.
Crafting Your Own Brisket Injection Recipe
Now that you know the components, let’s talk about putting them together. You can find countless recipes online, or you can mix and match to create your signature blend. What sounds good to you?
A good starting point for a homemade injection often includes beef broth, salt, and some key spices. You can always adjust it to your taste. Don’t be afraid to experiment!
A Simple & Effective Homemade Brisket Injection
This recipe is a great all-around choice. It adds moisture and enhances the beef flavor without being too aggressive. It’s a reliable recipe that we’ve seen work for many people.
- 2 cups beef broth (low sodium)
- 2 tablespoons Worcestershire sauce
- 1 tablespoon kosher salt
- 1 teaspoon garlic powder
- 1 teaspoon onion powder
- 1/2 teaspoon black pepper
Whisk all ingredients together until the salt and powders are fully dissolved. You want a smooth liquid that won’t clog your injector needle.
Tips for Mixing Your Injection
Always mix your injection liquid thoroughly. Any undissolved particles can clog your injector. You might need to gently warm the liquid to help everything dissolve, especially salt.
Taste your injection liquid! Does it taste good? Is it too salty? Too bland? Adjust as needed. Remember, this is going inside your brisket.
Preparing Your Brisket for Injection
Before you even think about injecting, your brisket needs a little love. Proper trimming and preparation set the stage for an even cook and fantastic results. Don’t skip these steps!
This preparation helps ensure the injection liquid is absorbed properly and your brisket cooks uniformly. It’s a foundational step for a successful BBQ.
Trimming Your Brisket
Trimming is crucial for several reasons. It removes hard fat that won’t render, shapes the brisket for better airflow, and ensures a consistent thickness. How much fat should you leave?
- Remove Hard Fat: Look for any hard, waxy fat, especially between the flat and the point. This fat won’t render and will just taste greasy.
- Shape for Even Cooking: Trim off any thin, wispy edges. These will burn during a long cook. Aim for a relatively uniform thickness.
- Fat Cap: We found that leaving about a 1/4-inch to 1/2-inch layer of fat on the top (fat cap) is ideal. This fat slowly renders, basting the meat and adding flavor.
Use a sharp boning knife for trimming. Take your time and make small cuts. You can always take more off, but you can’t put it back!
Patting the Brisket Dry
After trimming, it’s important to pat your brisket completely dry with paper towels. Why is this so important?
A dry surface helps your rub adhere better. It also promotes a better “bark” later during the smoking process. Plus, you want the injection to go into the meat, not just sit on a wet surface.
Applying Your Dry Rub (Before or After Injection?)
There’s a bit of debate here. Should you apply your dry rub before or after injecting? What’s the best approach?
Most pitmasters, including us, recommend applying your dry rub after injecting. The injection process can wash away some of the rub. However, if your rub contains a lot of salt, you might want to inject first and then adjust the salt in your injection liquid.
The liquid from the injection can help the rub stick better, creating a nice, even coating. We found this method to be most effective.
The Injection Process: Technique and Best Practices
You’ve got your perfectly trimmed brisket and your flavorful injection liquid. Now it’s time to put that injector to good use. This is where you really get that moisture and flavor deep into the meat.
The goal is even distribution throughout both the flat and the point. Don’t rush this step; precision here pays off big time in the final product.
Choosing the Right Injector and Needle
A good quality meat injector makes all the difference. You want one that’s sturdy and easy to clean. What should you look for?
- Stainless Steel: Much better than plastic. It’s durable and won’t retain odors.
- Multiple Needles: Most good injectors come with different needles. A thicker needle with large holes is best for thicker liquids or those with small spice particles. A thinner needle works for thinner liquids.
- Comfortable Plunger: You’ll be doing a lot of injecting, so a comfortable handle is helpful.
Make sure your injector is clean before use. We found that a small brush helps clean the needles thoroughly after each use.
How to Inject the Brisket Flat
The flat is often the driest part of the brisket, so it needs plenty of attention. You’ll want to inject in a grid pattern to ensure even coverage. Where do you start?
- Load the Injector: Draw up your injection liquid into the syringe.
- Insert the Needle: Push the needle deep into the flat, almost all the way through, but don’t poke out the other side.
- Inject Slowly: As you slowly withdraw the needle, depress the plunger to release the liquid. You’ll see the meat puff up slightly.
- Maintain a Grid: Inject in a grid pattern, about 1 inch apart. Imagine a checkerboard across the entire flat.
- Amount: Aim for about 1/2 to 1 cup of injection liquid per pound of brisket. For a 15-pound brisket, this could be 7-15 cups total (USDA recommends safe handling practices).
Don’t be afraid to get messy! Some liquid will inevitably seep out. Just wipe it away with a paper towel.
Injecting the Brisket Point
The point is naturally fattier and often stays moister, but it still benefits greatly from injection. The same principles apply here. How do you approach the point?
Follow the same grid pattern as the flat. The point might be a bit more irregular in shape, so adjust your angles. Ensure you’re getting liquid deep into the muscle fibers.
Some people inject the point slightly less than the flat, but still aim for good, even coverage. You want flavor everywhere.
Post-Injection Handling
Once your brisket is fully injected, what’s next? You want to let the liquid distribute evenly within the meat. This isn’t a race!
- Rest: Let the injected brisket rest for at least 30 minutes, or even a few hours, in the refrigerator. This allows the liquid to absorb fully.
- Apply Rub: After resting, apply your dry rub liberally to all sides.
- Refrigerate (Optional): If not cooking immediately, cover the brisket loosely with plastic wrap and refrigerate.
This resting period is crucial for the injection to work its magic. Don’t skip it before moving on to the smoker.
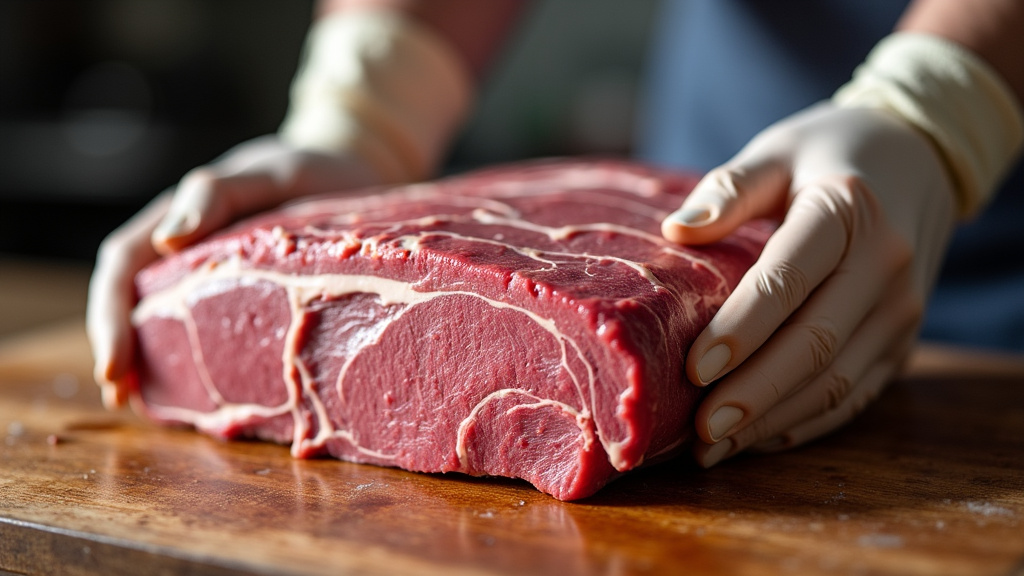
Avoiding Common Injection Mistakes
Even with the best intentions, things can go wrong. Knowing what to avoid will save you frustration and lead to a better brisket. What are the biggest pitfalls?
We found that many common issues stem from rushing or not paying attention to detail. A little patience goes a long way here.
Clogged Needles
This is probably the most frustrating issue. A clogged needle stops the flow of liquid and can make the process tedious. How do you prevent it?
- Dissolve Everything: Ensure all salts, sugars, and powders are completely dissolved in your liquid. Gently warming the liquid can help.
- Strain Your Liquid: For extra insurance, run your injection liquid through a fine-mesh strainer or cheesecloth before loading it into the injector.
- Use the Right Needle: If your liquid has thicker particles, use a wider-gauge needle.
If a clog happens, don’t force it. Clear the needle by pushing some clean water through it, or use your cleaning brush.
Injecting Too Fast or Too Shallow
If you inject too quickly, the liquid will just squirt back out. If you inject too shallowly, the liquid won’t reach the core of the meat. What’s the right technique?
Always insert the needle deep into the meat, then slowly withdraw it as you depress the plunger. You should see the meat slightly swell. This ensures the liquid spreads internally.
Using Too Much or Too Little Liquid
Injecting too much liquid can make the brisket watery or prevent a good bark from forming. Too little, and you lose the benefits of injecting. What’s the balance?
As mentioned, a good rule of thumb is 1/2 to 1 cup of injection liquid per pound of brisket. This range generally provides enough moisture and flavor without oversaturating the meat.
Not Resting After Injection
Impatience can be your enemy here. Immediately putting an injected brisket on the smoker without a rest period is a mistake. Why is resting so important?
The resting period allows the injected liquid to equalize throughout the muscle fibers. This means better moisture retention and more even flavor distribution when you cook it. It’s a key step for optimal results. To ensure your brisket reaches the perfect internal temperature, you will also need a meat thermometer for smoking.
Think of it like letting a steak rest after cooking – it helps the juices redistribute. The same principle applies here, just in reverse.
Conclusion
Injecting your brisket is a straightforward technique that delivers big results. By carefully selecting your injection liquid, preparing your meat, and using proper injection methods, you’re setting yourself up for success. We found that this extra step truly helps create a consistently moist and flavorful brisket, even after hours in the smoker. Don’t let common mistakes deter you; pay attention to detail, and you’ll master this skill in no time. Get ready to impress your friends and family with your best brisket yet!
Frequently Asked Questions
How far in advance can I inject my brisket?
You can inject your brisket anywhere from 30 minutes to 24 hours before cooking. If injecting more than a few hours ahead, cover it loosely and refrigerate. This gives the liquid ample time to penetrate the meat fibers fully.
Will injecting my brisket make it taste watery?
No, not if done correctly. Using the recommended amount of injection liquid (1/2 to 1 cup per pound) and allowing it to rest will prevent a watery texture. The liquid is absorbed and enhances moisture, not dilutes flavor.
Can I use butter as part of my brisket injection?
While butter adds flavor, we don’t recommend it as a primary injection component. It can solidify when it cools, potentially clogging your injector and not distributing evenly. Rendered beef fat or a good beef broth offers similar richness.
Do I need a special meat injector, or will any syringe work?
For best results, invest in a dedicated meat injector with stainless steel construction and multiple needle sizes. Standard syringes often lack the durability, volume, and specialized needles needed to handle thicker injection liquids and large cuts of meat like brisket.
What if my brisket injection liquid contains particles that clog the needle?
To prevent clogging, ensure all solids (like salt or spices) are fully dissolved. You can gently warm the liquid to help. For an extra step, strain your finished injection liquid through a fine-mesh sieve or cheesecloth before filling your injector.