
How to Control Airflow on a Kamado Grill?
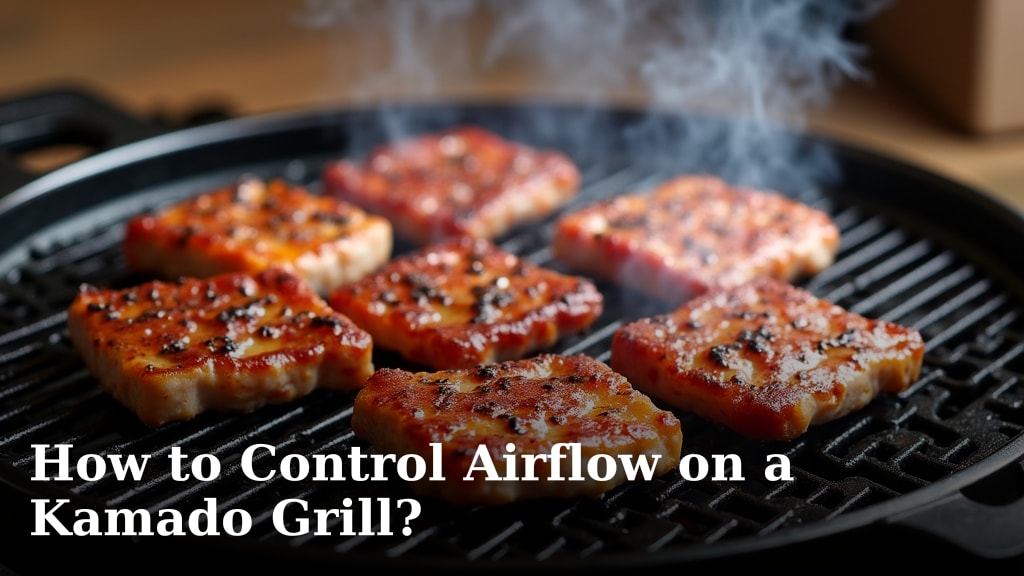
Controlling airflow on your Kamado grill is simple. You manage it using the top vent and bottom vent. These vents work together to regulate the temperature inside your grill. Mastering this is key to perfect grilling results every time.
Your Kamado grill works like a high-tech oven. It uses charcoal for heat. The vents control how much oxygen gets in. More oxygen means hotter fire. Less oxygen means a cooler, slower burn. Getting this balance right means you can smoke low and slow or sear at high heat.
TL;DR:
- Control Kamado grill temperature with the top and bottom vents.
- Open vents let in more air, increasing heat.
- Close vents restrict air, lowering temperature.
- A closed top vent directs heat down for searing.
- Small adjustments make a big temperature difference.
Let’s walk through exactly how these vents work and how you can use them to achieve your desired cooking temperature. You’ll be a Kamado pro in no time!
Mastering Your Kamado Grill’s Temperature Control
Understanding how your Kamado grill regulates heat is key to delicious results. It’s all about managing the airflow. Think of your grill like a finely tuned instrument. You have two main controls: the top vent and the bottom vent. Together, they allow you to dial in the perfect cooking temperature for any dish.
The Science Behind Kamado Airflow
Your Kamado grill works on a simple principle: fire needs oxygen to burn. The vents are your way of controlling just how much oxygen reaches the charcoal. More oxygen equals a hotter fire. Less oxygen means a cooler, slower burn.
How the Bottom Vent Works
The bottom vent, often called the daisy wheel or lower vent, is your primary tool for temperature control. It’s typically a round vent with multiple openings. By rotating the cover, you can expose more or fewer of these openings. This directly impacts the amount of air entering your grill.
Opening the bottom vent wider lets more air in. This feeds the fire and increases the grill’s temperature. Closing it restricts airflow, slowing down the charcoal’s burn and lowering the temperature. It’s your main lever for making big temperature adjustments.
The Role of the Top Vent
The top vent, or chimney cap, is just as important. It controls how heat and smoke escape the grill. It’s also a crucial part of regulating temperature. Unlike the bottom vent, which is more about initiating and fueling the fire, the top vent helps you fine-tune your heat.
When you’re trying to reach a specific temperature, you’ll often make smaller adjustments to the top vent. Closing the top vent slightly can help trap heat inside, making your grill hotter. Opening it up allows more heat and smoke to escape, which will lower the temperature.
Getting Started: Initial Vent Settings
When you first light your Kamado, you’ll want to start with the vents open to get the charcoal going. Many grill masters recommend opening the bottom vent about halfway or more and the top vent fully open. This allows the charcoal to ignite quickly and establish a good coal bed.
Once your grill has reached your desired temperature range, you’ll begin to close the vents to stabilize it. This is where the real control comes in. Remember, the bottom vent handles the bulk of the airflow change. The top vent is for the precise adjustments.
Strategies for Temperature Control
There’s an art to controlling your Kamado, and it often involves a bit of trial and error. Don’t get discouraged if your first few attempts aren’t perfect. You’re learning to speak your grill’s language.
Achieving Lower Temperatures (Smoking)
Smoking requires lower temperatures, typically between 225°F and 275°F. To achieve this, you’ll need to restrict airflow significantly. After your charcoal is lit and the grill is heating up, you’ll start closing down both vents.
You’ll likely find yourself closing the bottom vent to about 1-2 inches open, or even less. The top vent might be almost completely closed, leaving just a tiny gap. This minimal airflow starves the coals just enough to keep the temperature down. Many experts suggest leaving the top vent about 1/4 to 1/2 inch open for low-and-slow cooks to allow some exhaust.
Reaching Medium Temperatures (Roasting/Baking)
For roasting chicken or baking pizza, you might aim for temperatures between 300°F and 400°F. This requires a bit more airflow than smoking. You’ll open the bottom vent more than you would for smoking, perhaps to 2-4 inches open.
The top vent will also be opened slightly more. You’re looking for a balance where the fire is active but not raging. Research suggests that for baking, consistent temperature is paramount (National Association of Home Bakers). You’ll achieve this by finding that sweet spot with your vents.
High-Temperature Searing
To get those beautiful, restaurant-quality sear marks, you need high heat, often 500°F or more. This demands maximum airflow. You’ll want to open your bottom vent as wide as it will go.
For the top vent, you might leave it mostly open as well. However, some grillers find that a slightly restricted top vent can actually help push the heat down towards your food for a more intense sear. It’s a matter of personal preference and grill design. Many sources recommend a fully open bottom vent for high-heat searing.
The “Closed Top Vent” Sear Technique
Did you know you can use your top vent for searing, even when the grill is already hot? When you want to achieve a rapid sear after cooking at lower temperatures, you can close the top vent almost completely. This forces the heat downwards, concentrating it on your food. It’s like turning your Kamado into a super-powered broiler.
Be cautious with this technique, as it can make temperatures climb very quickly. Keep a close eye on your grill’s thermometer and be ready to adjust. Many seasoned grillers use this trick for the final minutes of a steak cook.
Making Small Adjustments for Big Results
One of the most important things to understand is that small vent adjustments can lead to significant temperature changes. Don’t be tempted to yank the vents wide open or slam them shut.
Think of it like adjusting the dimmer on a light switch. A tiny turn can make a noticeable difference. We found that even a 1/4 inch adjustment on the bottom vent can shift the temperature by 10-20 degrees over time. Patience is your best friend here.
Monitoring Your Kamado’s Temperature
You’ll need a reliable way to know what temperature your grill is at. Most Kamado grills have a built-in thermometer on the lid. These are generally accurate enough for most cooking. However, for critical cooks, especially low-and-slow smoking, many people use a secondary, probe thermometer.
Placing an independent thermometer near your cooking grate gives you a precise reading of the actual food zone temperature. This helps you calibrate your grill’s built-in thermometer and understand how your vent adjustments are truly affecting the cooking environment. The Cleveland Clinic notes that consistent temperatures are vital for food safety and quality. Using an independent thermometer near the cooking grate provides a precise reading of the food zone temperature.
Troubleshooting Common Airflow Issues
Sometimes, you might find your grill won’t hold a temperature, or it gets too hot too quickly. Here are a few common culprits.
Drafts and Leaks
Ensure your Kamado’s lid seal is in good condition. A leaky gasket can allow unwanted air to enter, making temperature control difficult. Also, check that the top vent and bottom vent are closing properly and not letting air sneak in around the edges.
Charcoal Type and Quantity
The type of charcoal you use matters. Lump charcoal burns hotter and faster than briquettes. The amount of charcoal you load also plays a role. Too much charcoal can make it hard to bring the temperature down, even with vents closed. Start with a moderate amount of charcoal for most cooks.
Windy Conditions
Wind can dramatically affect your grill’s temperature. A strong wind blowing into the bottom vent will force more air in, increasing heat. You may need to adjust your vent settings or use a windscreen to mitigate these effects. Many grilling communities recommend a windbreak for consistent cooks on breezy days.
A Quick Vent Adjustment Checklist
Here’s a quick rundown to help you remember the basics:
- Need to go hotter? Open the bottom vent more.
- Need to cool down? Close the bottom vent or top vent.
- For low-and-slow (smoking): Keep vents mostly closed.
- For high heat (searing): Open bottom vent wide.
- For baking/roasting: Use moderate vent openings.
- Always make small adjustments and wait for the temperature to stabilize.
Conclusion
You’ve now got the roadmap to mastering your Kamado grill’s airflow. Remember, controlling your vents is the direct path to controlling your cooking temperature. Whether you’re aiming for a gentle smoke or a searing hot finish, small, patient adjustments to your top and bottom vents are key. Don’t be afraid to experiment; your grill will quickly become an extension of your cooking intuition.
Your next step? Light that grill up, get those vents adjusted, and cook something delicious!
Frequently Asked Questions
Can I use just one vent to control temperature?
While you primarily use the bottom vent for larger temperature changes and the top vent for fine-tuning, they work best together. Relying on just one vent won’t give you the precise control needed for consistent results. The combination allows for the most effective heat management.
How long should I wait after adjusting vents for the temperature to stabilize?
It’s recommended to wait at least 10-15 minutes after making vent adjustments before taking a temperature reading. Kamado grills are well-insulated, so temperature changes can take a bit of time to fully register. Patience here will lead to more accurate temperature control.
Why does my grill get too hot even with the vents mostly closed?
This can happen if there’s still too much unburnt fuel or if you have a leak in your gasket. Ensure you’re using a moderate amount of charcoal and that your lid seal is in good condition. Sometimes, a strong wind can also force excess air in, so consider a windscreen if needed.
Is it okay to leave the top vent completely closed for smoking?
While you want very restricted airflow for smoking, completely closing the top vent can sometimes lead to undesirable smoke flavors or creosote buildup. Leaving a very small gap, like 1/4 to 1/2 inch, allows for some exhaust while still keeping the temperature low.
How do I know if my grill’s built-in thermometer is accurate?
Built-in lid thermometers are generally good for general guidance. For critical cooks, using a secondary, independent thermometer placed near the cooking grate will give you the most accurate reading of the food zone temperature. This helps you understand how your vent adjustments are truly impacting the internal heat.
