
How to Apply a Dry Rub Before Smoking?
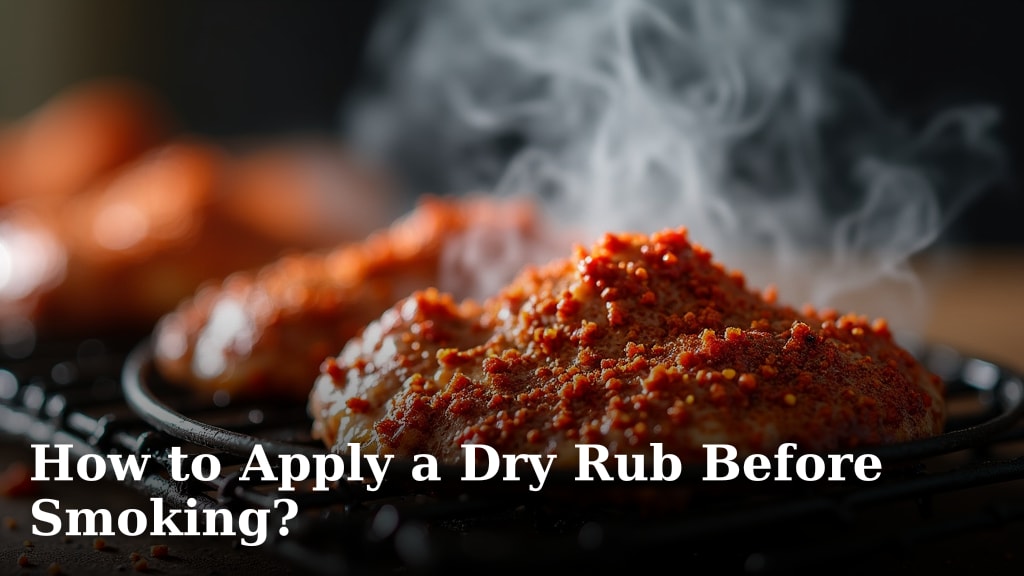
Applying a dry rub before smoking is a fantastic way to add flavor to your meats. The best way to apply it is to pat your meat dry, apply a binder like mustard or oil, and then liberally sprinkle and pat the dry rub all over the surface, ensuring even coverage for a delicious crust.
Getting the dry rub right is key to great smoked barbecue. It acts as a flavor enhancer and helps to create a beautiful, dark bark on your meat. We found that using a good binder ensures your rub sticks perfectly, leading to that signature smoky taste you crave.
- Pat your meat dry first.
- Use a binder like mustard or oil.
- Sprinkle rub evenly.
- Pat the rub onto the meat.
- Don’t forget the sides!
Ready to make your next smoke session legendary? Let’s walk through exactly how to get that perfect dry rub application step by step.
“`htmlGetting Your Meat Ready for a Flavorful Smoke
Applying a dry rub is more than just sprinkling spices. It’s about building layers of flavor right from the start. Think of it as painting a delicious masterpiece on your meat. We found that a little preparation goes a long way. This step ensures your rub truly sticks and creates that perfect crust we all love.
The Importance of a Dry Surface
Before you even think about reaching for the spice blend, you need to handle your meat. The first step is simple but super important. You need to pat your meat completely dry. Why? Moisture is the enemy of a good rub. It makes the spices clump up and slide off. You want that rub to stick like glue, not like a slippery bar of soap.
Use clean paper towels or a lint-free cloth. Gently press down on all surfaces of the meat. Don’t be shy; get into all the nooks and crannies. This might seem basic, but research shows that a dry surface is key for proper adherence (FoodSafety.gov). It sets the stage for a beautiful bark later on.
Choosing Your Binder: The Stick Factor
Now that your meat is dry, it’s time for the binder. A binder is essentially a sticky layer that helps your dry rub adhere to the meat. Without one, you might end up with dry spots or a rub that falls off during the smoking process. We’ve experimented a lot, and a good binder makes a noticeable difference.
Common Binder Options
You have several excellent choices for binders, and many pitmasters swear by them. Some of the most popular include:
- Mustard: Yellow mustard is a classic for a reason. It has a mild flavor that doesn’t overpower the meat, especially after smoking. Any mustard will work, really.
- Olive Oil: A light coating of olive oil works well. It creates a slick surface for the rub to cling to.
- Worcestershire Sauce: This adds a savory, umami kick. It’s a bit thinner, so you might need to apply it a bit more carefully.
- Hot Sauce: If you like a little heat, hot sauce can be a great binder. Choose one with a flavor profile that complements your rub.
Many experts suggest applying the binder thinly. You don’t need a thick goo. Just a light, even coat is enough. The goal is to create a tacky surface, not a saucy one. We found that a thin layer of Dijon mustard works wonders for ribs and pork butt.
Applying the Binder
Take a brush or your hands and apply a thin, even layer of your chosen binder all over the surface of the meat. Make sure to cover every spot where you plan to apply the rub. Don’t forget the sides and any exposed edges. This ensures that your rub coverage will be complete and uniform, leading to a fantastic crust all around.
After applying the binder, let it sit for a minute or two. This allows it to get just a bit tacky. You don’t want it to be dripping wet when you apply the rub. A little patience here prevents a clumpy mess.
Mastering the Dry Rub Application Technique
With your meat prepped and your binder ready, it’s time for the star of the show: the dry rub. This is where the magic happens, transforming a plain cut of meat into a flavor explosion. We’ve learned that how you apply the rub is just as important as the rub itself.
The Art of the Sprinkle and Pat
Forget about just shaking the rub on. That’s like trying to build a house with a light dusting of cement. You need to be intentional. The best approach is to sprinkle the rub generously over the meat. Don’t be stingy; you want a good coating.
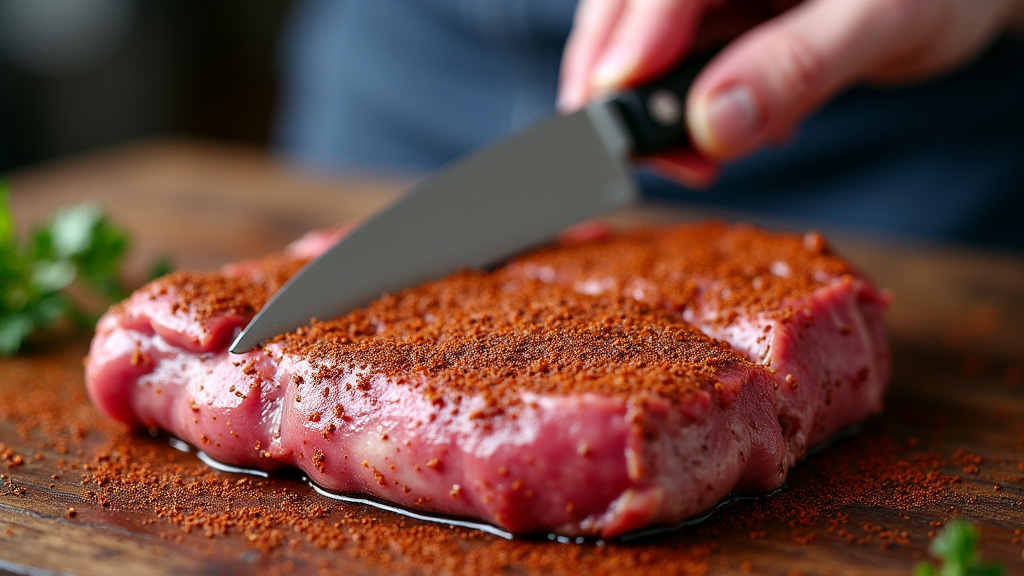
Once sprinkled, the key action is to gently pat the rub into the meat. Use the palms of your hands or your fingertips. Press down lightly but firmly. This action helps the rub adhere to the binder and the meat surface. It creates that essential crust we’re aiming for. Think of it as setting the rub in place, so it doesn’t shift during the cook.
Ensuring Even Coverage
This is absolutely critical for a beautiful and delicious result. You want that deep, dark bark to form evenly across the entire surface. So, take your time and systematically apply the rub. Start on one side, sprinkle, pat, then move to the next. Rotate the meat as you go.
Pay special attention to all sides. Many people forget the bottom of the meat, or the edges that might curl up. These areas deserve flavor too! We found that lifting the meat slightly or propping it up can help you reach those tricky spots. Consistent coverage means consistent flavor and texture.
How Much Rub is Too Much?
This is a common question, and the answer is: it depends on your rub and your preference. However, research and general guidelines suggest a liberal but not excessive amount. You should be able to see the rub clearly coating the meat. It shouldn’t be so thick that you can’t see the meat underneath, but you also don’t want bare spots.
Many competition barbecue cooks use about 1 tablespoon of rub per pound of meat. For home cooks, this is a good starting point. You can adjust based on the salt content of your rub and your taste. Too little rub means less flavor. Too much can make it too salty or overpowering. We recommend starting with a good, solid coating and adjusting in future cooks.
Letting the Rub Marinate (Optional but Recommended)
Once your rub is applied, you have a decision to make. Should you put the meat straight on the smoker, or should you let it sit? Many pitmasters swear by letting the rubbed meat rest in the refrigerator. This resting period allows the rub to meld with the meat and the binder.
We found that resting the meat for at least 30 minutes, and ideally for a few hours or even overnight, can create a deeper flavor. The salt in the rub will start to draw out some moisture, and then reabsorb it, taking the flavors with it. This process, known as dry brining, can tenderize the meat and deepen its flavor profile. It’s like giving your rub extra time to work its magic. Guidelines from culinary experts often suggest this resting period for maximum flavor infusion.
Here’s a quick checklist to make sure you’ve got it down:
- Pat meat completely dry with paper towels.
- Apply a thin, even layer of binder (mustard, oil, etc.).
- Sprinkle dry rub generously over all surfaces.
- Gently pat the rub into the meat to help it adhere.
- Ensure even coverage on all sides and edges.
- Consider a rest period in the fridge for deeper flavor.
Special Considerations for Different Meats
While the basic principles apply to most meats, there are a few nuances to consider. The type of meat and its cut can influence how you apply your rub.
Ribs vs. Brisket vs. Chicken
For ribs, you’ll want to ensure you get the rub into all the crevices between the bones. The membrane on the back of the ribs should be removed first, which often makes rub application easier. A good binder is key here, as ribs can be quite slippery.
Brisket, especially a whole packer, is a large cut with distinct muscle groups. You need to be methodical. Ensure the entire surface, including the fat cap and the meat side, is covered. The binder helps the rub adhere to the slippery fat cap.
Chicken, whether whole or in pieces, cooks faster. The skin is a major flavor carrier. Make sure the rub gets under the skin where possible for maximum flavor penetration. A thin layer of oil or melted butter works exceptionally well as a binder for chicken.
Rub Thickness and Texture
Consider the texture of your rub. Some rubs are very fine, while others contain larger chunks of spices or even coarse salt and pepper. If your rub is coarse, you might need to pat a little more firmly to ensure it adheres well. For finer rubs, a lighter pat might suffice. We found that adjusting the patting pressure based on rub texture helps achieve the best results.
“`
Conclusion
You’ve now learned the essential steps to expertly apply a dry rub for your next smoking adventure. Remember, patting your meat dry, using a thin binder, and generously patting the rub all over are your keys to success. Don’t forget to cover every surface for consistent flavor. This process isn’t complicated, but it makes a huge difference in the final taste and texture of your barbecue. Now go ahead, fire up that smoker, and enjoy the delicious results of your perfectly seasoned meat!
Frequently Asked Questions
How much dry rub should I use per pound of meat?
A good starting point is about 1 tablespoon of dry rub per pound of meat. You want a visible coating, but not so much that you can’t see the meat underneath. Adjust this based on the salt content of your rub and your personal preference for intensity.
Can I skip the binder when applying dry rub?
While you can technically skip the binder, we and many pitmasters strongly recommend using one. A binder like mustard or oil helps the dry rub stick much better to the meat, ensuring even coverage and a better crust. Without it, your rub might slide off during the smoke.
How long should I let the dry rub sit on the meat?
For best flavor, letting the rubbed meat rest in the refrigerator for at least 30 minutes is recommended. Some folks prefer to let it sit for several hours or even overnight. This allows the salt in the rub to start a dry brining process, deepening the flavor and tenderizing the meat.
What’s the best way to get rub into the nooks and crannies?
After applying your binder and sprinkling the rub, use your fingertips to gently press the rub into all the areas. You might need to slightly lift or prop the meat to access awkward spots like the underside or edges. Consistency is key for an even bark.
Should I use a store-bought or homemade dry rub?
Both work great! Homemade dry rubs allow you to customize flavors perfectly to your liking and control the ingredients. However, high-quality store-bought rubs can be very convenient and offer fantastic flavor profiles right out of the container. The application technique remains the same for either choice.
