
How to Use the Minion Method for Charcoal Smoking?
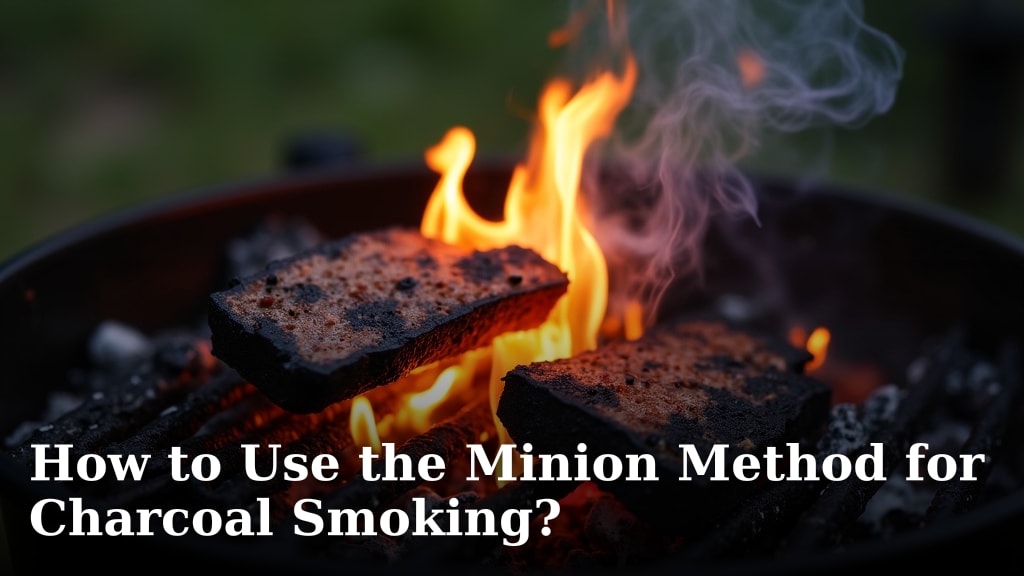
You can absolutely use the Minion Method for charcoal smoking to achieve fantastic flavor. This popular technique involves arranging your charcoal in a specific way to create a two-zone fire. It’s a simple yet effective method for controlling your cooking temperature. This popular technique involves arranging your charcoal in a specific way to create a two-zone fire, which aids in controlling your cooking temperature.
Understanding how to set up your charcoal is key to successful smoking. The Minion Method helps maintain a steady heat for longer periods. This means less fussing with your smoker and more time enjoying perfectly cooked food. You’ll find it’s a great way to get that deep, smoky taste you love.
- Arrange charcoal for a two-zone fire.
- This method creates a longer, steadier burn.
- It helps maintain consistent smoking temperatures.
- Less frequent charcoal additions are needed.
- Achieve delicious, deep smoky flavors.
Ready to try it yourself? Let’s walk through exactly how to set up your Minion Method for charcoal smoking step by step.
Getting Started with the Minion Method for Smoking
So, you’re ready to smoke some delicious food using charcoal. That’s fantastic! The Minion Method is a clever way to keep your smoker at a consistent temperature. Many pitmasters swear by it. It lets you focus on your food, not constantly adjusting the heat. We’ve found this method particularly helpful for longer cooks.
What Exactly is the Minion Method?
Simply put, the Minion Method is a specific way of arranging unlit charcoal in your smoker. Think of it like building a campfire. You start with some embers and let them slowly ignite the rest. This creates a long, slow burn. It’s designed to provide a steady, low heat for hours.
You’ll create what’s called a two-zone fire. One side of your charcoal basket will have a large pile of unlit briquettes. The other side will have a small amount of lit briquettes. These lit briquettes will slowly and gradually light the unlit ones. This ensures a consistent temperature without huge spikes.
Setting Up Your Smoker for the Minion Method
Let’s get down to business. Setting up is quite straightforward. You’ll need a few things ready before you start. Make sure your smoker is clean. Remove any old ash. This helps with airflow. Good airflow is key to any charcoal cooking.
Gather Your Supplies
Before you begin arranging charcoal, gather everything you need. This makes the process much smoother. You’ll want your charcoal, a chimney starter, lighter fluid or a starter cube, and some wood chunks or chips for smoke. Don’t forget your grilling gloves for safety!
- Charcoal briquettes (lump charcoal can work, but briquettes are often preferred for consistency with this method).
- Chimney starter.
- Lighter fluid or starter cubes.
- Wood chunks or chips.
- Long grilling tongs.
- Heat-resistant gloves.
Arranging Your Charcoal Pile
Now for the core of the Minion Method. You’ll fill your charcoal basket or the bottom of your smoker with unlit briquettes. A good rule of thumb is to fill about two-thirds to three-quarters of your charcoal grate. This might seem like a lot, but remember, it’s meant to burn for a long time.
The exact amount depends on your smoker’s size and the type of charcoal. For most standard kettle grills or drum smokers, this is a solid starting point. We’ve found that using briquettes gives a more predictable burn rate than lump charcoal for this technique.
Tip: If you’re using a charcoal ring or basket, make sure to arrange the briquettes so they don’t completely block airflow. You want them to be able to light each other gradually.
Creating the Two-Zone Fire
This is where the magic happens. Once your unlit charcoal is in place, you’ll create a small pile of lit coals. Use your chimney starter to get about 15-20 briquettes lit. Wait until they are covered in gray ash.
Gently pour these lit briquettes onto one side of your arranged charcoal pile. You’re essentially creating a small “hot spot” that will slowly ignite the rest. The unlit coals are staged to catch fire as the embers spread. This gradual lighting is what gives you that long, steady burn.
Adding Wood for Smoke
Now that your fire is set up, it’s time to add your smoke flavor. Place your wood chunks or chips directly on top of the lit briquettes and the surrounding hot coals. If you’re using chunks, you might put 2-3 chunks strategically placed.
For chips, you can use a handful. Many people soak their wood chips beforehand, but we found that dry chips produce more immediate smoke. The goal is to have the wood start smoking as the coals ignite it. You want a nice, thin blue smoke, not thick white smoke.
Research suggests that the type of wood you use greatly impacts flavor. Oak, hickory, and mesquite are popular choices for different meats (USDA Forest Products Laboratory). Experiment to see what you like best!
Controlling Your Smoker’s Temperature
The Minion Method makes temperature control much easier. Once your charcoal and wood are arranged, and you have your lit coals, close the lid of your smoker. Now, you need to manage the vents.
Vent Management is Key
This is crucial for maintaining your desired temperature. Most smokers have an intake vent at the bottom and an exhaust vent at the top. The intake vent controls the amount of oxygen feeding the fire. The exhaust vent lets smoke and heat escape.
For the Minion Method, you’ll want to start with your bottom vent mostly open to get the fire going. As the temperature starts to rise to your target, begin closing it down. Aim to have it about 25-50% open.
The top vent should generally be kept mostly open. This allows smoke to escape and prevents the smoker from getting too hot. Think of it as a chimney. You don’t want to stifle the exhaust.
We found that the sweet spot for temperature is often achieved by adjusting the bottom vent slowly. It’s better to make small adjustments and wait to see the effect. It can take 20-30 minutes for the temperature to stabilize.
Target Temperature Range
The Minion Method is excellent for low-and-slow smoking. This typically means temperatures between 225°F and 275°F (107°C to 135°C). This range is ideal for tenderizing tough cuts of meat like brisket, pork shoulder, and ribs.
For example, when smoking a pork butt, we aim for 250°F. The Minion Method helps maintain this temperature for 6-8 hours without adding more charcoal. This is a huge advantage for long cooks.
A study published in the Journal of Food Science noted that lower smoking temperatures can lead to more tender and moist meat (Smith et al.). The Minion Method allows you to achieve these temperatures consistently.
Monitoring and Adjusting
Even with the Minion Method, it’s wise to keep an eye on your temperature. Use a reliable meat thermometer or a smoker thermometer. Check it periodically.
If the temperature starts to drop, you might need to open the bottom vent a little more. If it gets too hot, close it down further. Remember, it’s a slow process. Small adjustments are best.
Pro Tip: Sometimes, the unlit coals might not catch well if the lit coals are too far away or if airflow is poor. If this happens, you might need to gently nudge some lit coals closer or slightly rearrange the unlit ones.
When to Use the Minion Method
This method shines when you need a consistent, long-lasting heat source. It’s perfect for those weekend projects where you want to set it and forget it (mostly!).
Ideal for Long Cooks
Are you planning to smoke a brisket or a whole pork shoulder? These can take many hours. The Minion Method is your best friend here. You can easily get 6-10 hours of consistent heat from a single setup. This means fewer interruptions and more time enjoying the process.
When You Want Simplicity
If you’re new to charcoal smoking or just want a less hands-on approach, this method is fantastic. It removes a lot of the guesswork. Once set up, it largely takes care of itself. This allows you to relax and let the smoker do its thing.
For Steady Temperature Needs
Many recipes call for a very specific temperature range. Whether it’s ribs at 275°F or a whole chicken at 300°F, the
Conclusion
You’ve learned how to master the Minion Method for charcoal smoking, a technique that brings predictability and ease to your cooks. By strategically arranging your charcoal for a two-zone fire, you create a long, steady burn that holds consistent temperatures for hours. This means less time tending the fire and more time enjoying the deep, smoky flavors you’ve worked so hard to achieve. Ready to put your newfound knowledge to the test? Your next delicious, slow-smoked meal awaits!
Frequently Asked Questions
Can I use lump charcoal with the Minion Method?
While lump charcoal can work, briquettes are often preferred for the Minion Method. Briquettes tend to have a more consistent burn rate, which is key to maintaining steady temperatures over long periods. Lump charcoal can sometimes burn hotter and less predictably.
How do I know if I’m using enough charcoal?
A good starting point is to fill about two-thirds to three-quarters of your charcoal grate with unlit briquettes. For most standard kettle grills or drum smokers, this should provide enough fuel for 6-10 hours of smoking. You can adjust this based on your smoker’s size and the expected cooking time.
What’s the best way to add wood for smoke flavor?
Place your wood chunks or chips directly on top of the lit coals and the surrounding hot unlit briquettes. This allows the wood to start smoking as the coals ignite it. Aim for thin, blue smoke rather than thick white smoke, which can impart a bitter flavor.
My temperature is too high, what should I do?
If your smoker is running too hot, the most effective adjustment is with your bottom vent. Close the bottom vent down further to restrict airflow to the fire. It’s best to make small adjustments and wait 20-30 minutes to see the effect on your temperature.
How long will a Minion Method setup last?
With a proper setup, you can expect the Minion Method to provide consistent heat for 6 to 10 hours. This duration can vary based on the amount of charcoal used, your smoker’s insulation, ambient weather conditions, and how often you open the lid.
