
How to Cold Smoke Meat?
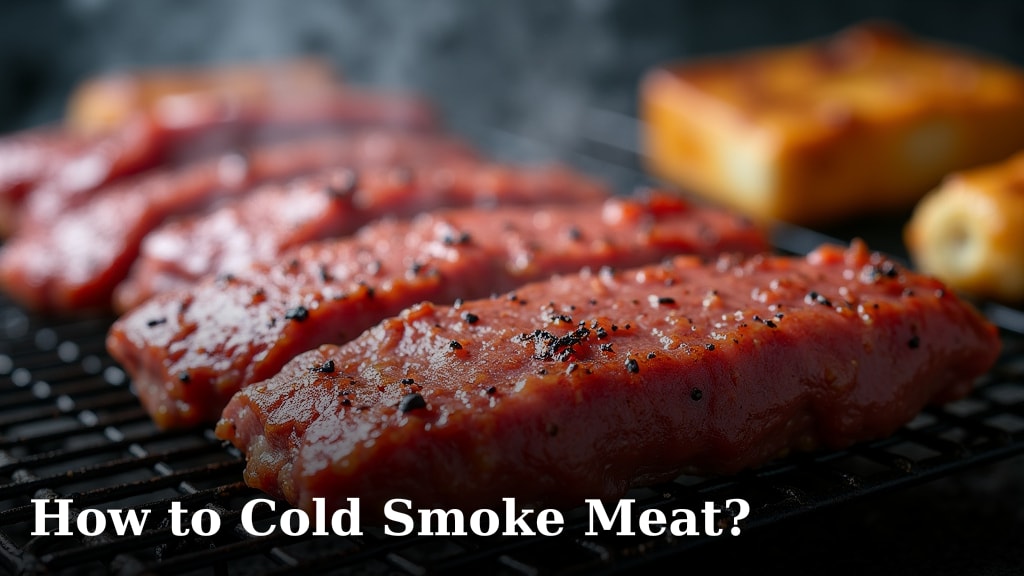
To cold smoke meat effectively, you gently infuse it with smoke flavor without cooking it. This process typically involves maintaining temperatures below 80°F (27°C) to prevent the meat from cooking, allowing the smoke to slowly penetrate and preserve the food.
Cold smoking is a traditional method for adding rich, smoky taste to foods like salmon, cheese, bacon, and sausages. It requires careful temperature control and proper equipment to ensure both flavor and food safety.
- Achieve perfect cold smoke temperatures.
- Select the right wood for amazing flavor.
- Prepare your meat for optimal results.
- Set up your smoker for success.
- Understand essential safety tips.
Ready to master the art of cold smoking? Let’s walk through exactly how to set up your equipment and prepare your ingredients for perfectly smoked results, step by step.
Mastering the Art of Cold Smoking Meats
Cold smoking is a fantastic way to add incredible flavor to your food without cooking it. You’re essentially preserving and flavoring at the same time.
The key is keeping the temperature low. This process adds a depth of flavor that’s hard to achieve any other way.
Understanding Cold Smoke vs. Hot Smoke
Many people confuse cold smoking with hot smoking. They are very different processes with different goals.
With hot smoking, you cook and smoke your food simultaneously. Temperatures often range from 200°F to 275°F (93°C to 135°C). This method cooks your meat while infusing smoke.
Cold smoking, on the other hand, keeps temperatures below 80°F (27°C). Your food is not cooked. It’s only exposed to smoke. This lower temperature is essential for flavor and preservation.
Why Temperature Matters So Much
Why such a strict temperature guideline? If the temperature gets too high, you risk partially cooking the meat. This changes its texture and can create a food safety issue.
Maintaining a low temperature ensures the meat stays raw while absorbing the smoke. This slow infusion is what gives cold smoked items their unique taste and texture.
Essential Equipment for Your Cold Smoking Journey
You don’t need a fancy setup to start cold smoking, but a few key pieces of equipment make it much easier. You’ll want tools that help you control temperature and generate clean smoke.
Your Smoking Chamber Options
The smoking chamber is where your food sits during the process. It needs to be able to hold smoke and keep a consistent, low temperature.
- Dedicated Cold Smoker: Some units are designed specifically for cold smoking. They often have a separate smoke generator.
- Modified BBQ Grill: You can often convert a charcoal or gas grill. You’ll need to keep the heat source far from the food.
- Cardboard Box Smoker: For a super budget-friendly option, a sturdy cardboard box can work for small items. Line it with foil for safety.
- Old Refrigerator/Freezer: An old, cleaned-out appliance can make an excellent, insulated cold smoker.
Choosing Your Smoke Generator
This is arguably the most important piece of equipment. It creates the smoke without generating too much heat.
- Smoke Tubes or Mazes: These are popular and affordable. You fill them with wood pellets or sawdust, light one end, and they smolder for hours.
- Cold Smoke Generators: These are often electric and feed wood chips or pellets into a burning chamber. They are designed to keep the heat separate from the smoke.
- Offset Firebox: If using a traditional smoker, an offset firebox keeps the heat away. The smoke travels through a long pipe to the smoking chamber.
Monitoring Temperature and Humidity
You need to know what’s going on inside your smoker. A good thermometer is non-negotiable.
- Reliable Thermometer: A digital thermometer with a probe is best. You need to monitor both the ambient air temperature inside the smoker and, if possible, the internal temperature of your meat.
- Hygrometer (Optional but Recommended): This measures humidity. High humidity can sometimes affect smoke penetration and food safety. Many experts suggest keeping humidity below 90% (University of Georgia Extension).
Selecting the Perfect Wood for Flavor
The type of wood you use profoundly impacts the final flavor of your cold smoked goods. Different woods impart different tastes, from mild and fruity to strong and bold.
Popular Wood Choices and Their Profiles
It’s fun to experiment with different woods. Start with something mild and work your way up.
| Wood Type | Flavor Profile | Best For |
|---|---|---|
| Apple | Mild, sweet, fruity | Fish, poultry, pork, cheese |
| Cherry | Mild, fruity, slightly sweet | Beef, pork, game, poultry |
| Hickory | Strong, bacony, robust | Beef, pork, ribs |
| Oak | Medium, earthy, strong | Beef, lamb, game |
| Alder | Very mild, subtle, sweet | Fish (especially salmon) |
You want to use wood chips or pellets specifically designed for smoking. Avoid using wood that has been treated or painted.
Wood Chips vs. Wood Pellets vs. Sawdust
The form of wood you use depends on your smoke generator.
- Wood Chips: These work well in electric cold smoke generators or smaller, dedicated units.
- Wood Pellets: Excellent for smoke tubes or mazes, as they burn slowly and consistently.
- Sawdust: Often used in very fine cold smoke generators, producing a gentle smoke.
Always use high-quality wood. You don’t want any artificial flavors or chemicals affecting your food.
Preparing Your Food for Cold Smoking
Proper preparation is critical for both flavor and food safety. Cold smoking adds a layer of complexity to food handling. You need to pay attention to curing and drying.
The Importance of Curing
For most meats, especially fish and poultry, curing is not optional. It’s a vital food safety step. Curing involves using salt and sometimes nitrates to draw out moisture and inhibit bacterial growth (USDA).
- Salt Curing (Dry Brine): This is common for fish like salmon. You rub the meat with a mixture of salt, sugar, and sometimes spices.
- Brining: Submerging the food in a saltwater solution. Often used for poultry or thicker cuts.
- Curing Salts (Pink Salt/Prague Powder #1): For items like bacon or sausage, curing salts containing nitrites are often used. These are crucial for preventing botulism, a serious foodborne illness. Always follow recipes precisely when using curing salts, as too much can be harmful.
After curing, you typically rinse the food and then pat it dry thoroughly. This step is essential before smoking.
Creating a Pellicle
A pellicle is a sticky, glossy surface that forms on cured meats after drying. It’s crucial for cold smoking.
You achieve a pellicle by air-drying your cured and rinsed food, usually in a cool, well-ventilated area or in the refrigerator. This can take several hours up to a day.
The pellicle helps smoke adhere better to the surface of the food. It also creates a barrier that protects the food during smoking.
Setting Up Your Cold Smoker for Success
Once your food is prepped, it’s time to get your smoker ready. The goal is to produce consistent, clean smoke without raising the temperature too much.
Achieving Consistent Low Temperatures
This is the trickiest part of cold smoking. You need a smoke source that generates minimal heat.
- Place Smoke Generator Away: If using a separate smoke generator (like a smoke tube), position it as far as possible from your food within the smoking chamber.
- Indirect Heat: For modified grills, ensure your wood chips or pellets are not directly under the food.
- Outdoor Temperature Matters: Cold smoking is much easier on cooler days. If it’s too warm outside, you might struggle to keep the internal smoker temperature low enough. Consider smoking early in the morning or late in the evening during summer months.
Ensuring Good Airflow
Smoke needs to flow through your chamber. Stagnant smoke can lead to a bitter, acrid taste.
- Vents: Make sure your smoking chamber has adequate vents – one for intake and one for exhaust.
- Open Slightly: Don’t completely seal your smoker. A little airflow is essential for clean smoke. You want thin, blue smoke, not thick, white, billowy smoke.
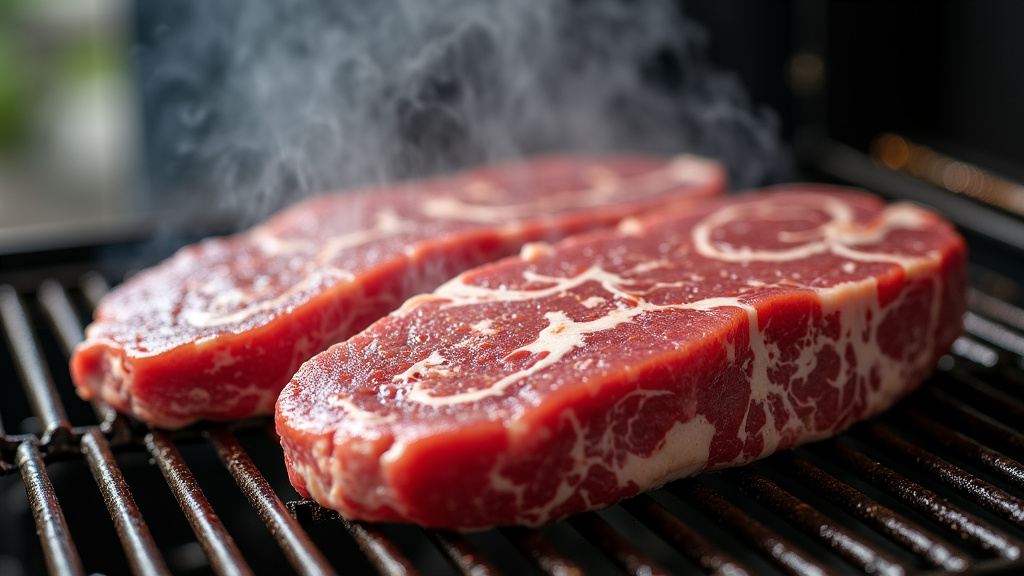
The Cold Smoking Process: Step-by-Step
You’ve prepped your food and set up your smoker. Now for the fun part!
Loading Your Smoker
Arrange your food on racks inside the smoking chamber. Make sure there’s space between each piece for smoke to circulate.
Don’t overcrowd your smoker. Air circulation is key for even smoke distribution.
Generating and Maintaining Smoke
Light your smoke generator according to its instructions. Once it’s producing a consistent, thin blue smoke, you’re good to go.
Monitor your temperatures closely throughout the smoking period. Adjust vents as needed to maintain that sub-80°F (27°C) target.
Smoking times vary greatly depending on the food. Fish might smoke for 2-4 hours, while cheese could be 1-2 hours. Bacon might need 8-12 hours of smoke.
Post-Smoking Handling and Storage
Once your food has absorbed enough smoke, the process isn’t quite over. Proper post-smoking care is essential.
Resting Your Smoked Goods
After smoking, most items benefit from a rest. This allows the smoke flavor to mellow and distribute throughout the food.
Transfer your smoked items to the refrigerator for at least 12-24 hours. Don’t cover them tightly initially; let them breathe a bit.
Storage Best Practices
Cold smoked foods, while having some preservative qualities from the salt and smoke, are still perishable.
- Store in airtight containers or vacuum-sealed bags.
- Keep refrigerated.
- Consumption within 1-2 weeks is generally recommended for most cold smoked meats and fish. For cheese, it can be longer.
Crucial Food Safety Considerations
When you cold smoke, you are not cooking the food. This means you must be extra vigilant about food safety. It’s a process where mistakes can lead to serious health risks.
Temperature Control is Paramount
The most critical rule: keep your food out of the “danger zone”. The danger zone for bacterial growth is between 40°F and 140°F (4°C and 60°C) (CDC).
Since your smoker temperature is below the danger zone, this means your food is spending time in an environment where bacteria can multiply rapidly if not handled correctly. This is why curing is so important.
Always ensure your meat’s internal temperature never rises above 80°F (27°C) during the entire smoking process.
Curing and Nitrites
For meats that are traditionally cold-smoked (like bacon or some sausages), the use of curing agents like Prague Powder #1 (which contains nitrites) is highly recommended or even mandatory. These agents specifically inhibit the growth of Clostridium botulinum, the bacterium that causes botulism, which can thrive in anaerobic (oxygen-free) environments like vacuum-sealed packages of cold-smoked foods.
Always follow a tested recipe for curing, especially when using nitrites. Do not guess the amounts. Too much can be toxic; too little can be ineffective.
Sourcing and Hygiene
Start with fresh, high-quality ingredients. Hygiene throughout the process is also non-negotiable.
- Clean hands and surfaces.
- Dedicated cutting boards and utensils for raw meat.
- Avoid cross-contamination.
Cold Smoking Checklist for Success
Ready to get started? Here’s a quick checklist to help you stay on track.
- Have you cured your meat properly and for the correct duration?
- Is there a visible pellicle on your food for smoke adhesion?
- Is your smoke generator producing thin, blue smoke?
- Are your smoker’s ambient and food temperatures consistently below 80°F (27°C)?
- Do you have good airflow through your smoking chamber?
- Is your chosen wood type appropriate for the food you are smoking?
Conclusion
Cold smoking is a rewarding journey into flavor and preservation. You’ve learned that precise temperature control and proper curing are not just guidelines; they’re essential for both delicious results and your safety. By understanding your equipment, choosing the right wood, and following careful preparation steps, you can confidently create incredible smoked foods at home.
Don’t be intimidated by the process. Start with a simple item like cheese or cured fish. With a little practice, you’ll soon be enjoying your own perfectly cold-smoked delicacies. Get ready to impress your friends and family with your newfound smoking prowess!
Frequently Asked Questions
Can I cold smoke without curing the meat first?
For most meats and fish, especially those that won’t be cooked afterward, curing is absolutely necessary. It’s a critical food safety step that inhibits bacterial growth and prevents spoilage. Only items like hard cheeses, nuts, or certain vegetables can typically be cold smoked without prior curing.
What’s the best way to get thin, blue smoke for cold smoking?
Thin, blue smoke is ideal because it provides clean flavor without bitterness. This is usually achieved by using a smoke generator that produces smoke without much heat, like a smoke tube filled with pellets or a dedicated cold smoke generator. Ensure good airflow in your smoking chamber to prevent the smoke from becoming stagnant and acrid.
How long does cold smoked meat last?
The shelf life of cold smoked meat varies depending on the type of meat, the curing process, and storage conditions. Generally, for most cured and cold-smoked meats like fish or bacon, you should consume them within 1-2 weeks when stored in the refrigerator. Always keep them in airtight containers or vacuum-sealed for best results.
Why is it so important to form a pellicle on the meat?
A pellicle is a dry, tacky surface that forms on cured meat after air-drying. It’s crucial because it provides an ideal surface for smoke to adhere to, allowing for better flavor absorption. It also acts as a protective barrier, helping to prevent moisture loss and creating an even smoke penetration during the process.
Can I use my regular BBQ grill for cold smoking?
Yes, you can often adapt a regular charcoal or gas grill for cold smoking. The key is to keep your smoke source (like a smoke tube or wood chips in a foil packet) as far away from the food as possible to maintain low temperatures. You’ll need to ensure proper ventilation and closely monitor the internal temperature of the grill to stay below 80°F (27°C).
