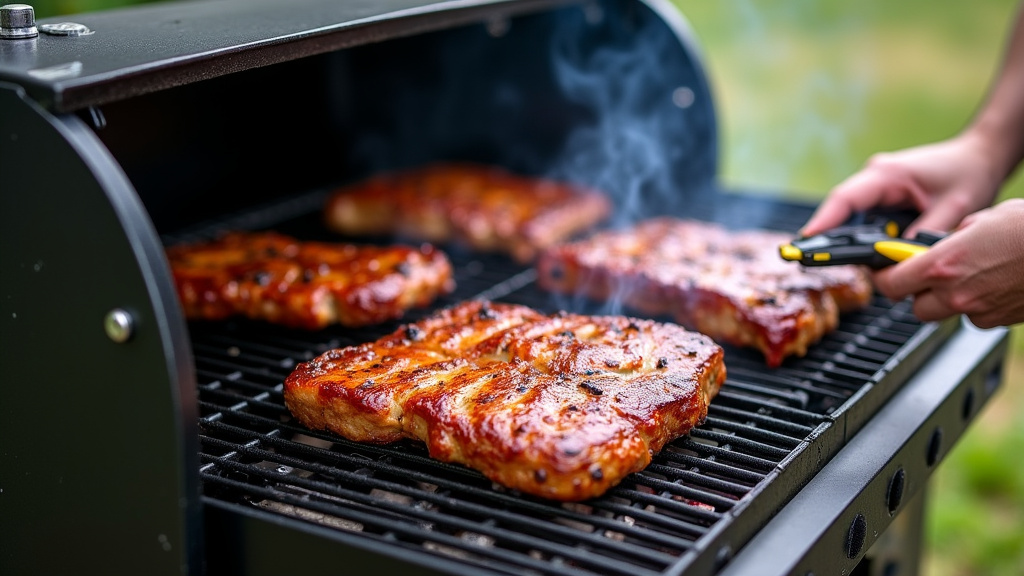
How to Season a Smoker Before First Use?
The easiest way to season a new smoker is to heat it up empty with some wood for several hours to burn off manufacturing oils and create a protective layer. This vital step improves your food’s flavor and protects your investment from rust.
You’ve just unboxed your shiny new smoker, ready to create some delicious barbecue for friends and family. But wait – can you just throw a brisket in there right away? We found that taking the time to properly season your smoker is crucial for both its longevity and the taste of your culinary creations. It’s like breaking in a new pair of shoes – takes a little effort but makes all the difference.
- Seasoning creates a protective, non-stick layer.
- It’s crucial for removing factory residues.
- This process seals the smoker’s metal.
- You’ll get better smoke flavor from day one.
Let’s walk through exactly how to season a smoker before its first use, step by step, so you can start smoking confidently.
Preparing Your New Smoker for Its First Smoke
You’re excited to fire up that new smoker, right? But before you load it with ribs, there’s a vital step: seasoning. This initial burn creates a protective layer, essential for both your smoker’s life and the incredible food it will produce. Think of it as a warm-up for a big performance.
Why Seasoning is Non-Negotiable
Why bother with seasoning? We found it offers some big benefits. First, it burns off any industrial oils or residues left over from manufacturing. You wouldn’t want these in your food, would you?
Second, seasoning helps create a non-stick surface inside. This makes cleanup easier down the road. Nobody likes scrubbing caked-on residue from their cooking grates.
Most importantly, seasoning builds a protective layer called “patina.” This carbonized coating acts like a shield, preventing rust and sealing any tiny gaps in the smoker’s construction. This means better heat retention and more consistent cooking.
Many experts say this process also helps to “pre-flavor” your smoker (AmazingRibs.com). It introduces that lovely smoky essence right from the start, making your first cook sing.
Understanding the Patina Layer
So, what exactly is this “patina?” It’s largely a buildup of creosote and oil that polymerizes, or hardens, onto the metal surfaces. This creates a semi-permanent, heat-resistant coating. It’s similar to how you season a cast-iron skillet, but on a much larger scale.
This layer is your friend. It fills in microscopic pores in the metal, making the smoker more efficient. It also helps your smoker perform better, holding heat steadily, which is key for low-and-slow barbecue.
Gather Your Supplies: What You’ll Need
Before you begin, gather a few things. Having everything ready makes the process smooth and stress-free. You want to focus on the task, not on finding an old rag.
- Cooking Oil: A high smoke point oil is best. Think vegetable oil, canola oil, or even lard. Avoid olive oil; it burns too easily.
- Paper Towels or Clean Rags: You’ll need these to apply the oil, and maybe for a quick wipe-down.
- Fuel: Your smoker’s fuel source. Charcoal, wood chunks, or electricity, depending on your model.
- A Safe Outdoor Space: This is crucial! Never season a smoker indoors.
- Gloves: Protect your hands from oil and heat.
- Optional: Remote Thermometer: Helps monitor the internal temperature.
Step-by-Step Guide to Seasoning Your Smoker
Ready to get started? We’ve broken down the seasoning process into easy, manageable steps. Just follow along, and you’ll be well on your way to perfectly smoked dishes.
1. A Quick Clean-Up
Even though it’s brand new, give your smoker a quick clean. Use a damp cloth to wipe down all interior surfaces, including grates, racks, and the lid. This removes any dust or loose debris from the factory or packaging. Make sure to dry it thoroughly afterward to prevent flash rust.
2. Apply an Even Layer of Oil
Now for the oil. Lightly coat all interior metal surfaces with your chosen cooking oil. This includes the cooking grates, internal walls, and the inside of the lid. Don’t forget the firebox or charcoal pan if your model has one.
The goal is a thin, even layer. Too much oil will just drip and create a mess once it heats up. Think of it like a light polish, not a heavy soak. We found that
using a spray bottle makes this step super easy.
| Oil Type | Smoke Point (approx.) | Best For |
|---|---|---|
| Vegetable Oil | 400-450°F | General purpose, good value |
| Canola Oil | 400-450°F | Similar to vegetable oil, widely available |
| Lard/Shortening | 370°F | Traditional, good for grates, creates thick patina |
| Grapeseed Oil | 420°F | Neutral flavor, higher cost |
| Avoid Olive Oil | 375°F (Extra Virgin) | Burns and creates off-flavors at lower temps |
3. Fire It Up! The Initial Burn
Place your grates back in the smoker. Now, it’s time to light it up. The aim is to get the smoker’s internal temperature to around 275-300°F (135-150°C). Maintain this temperature for 2-3 hours. This lets the oil polymerize and “bake” onto the metal.
For a charcoal smoker, arrange unlit briquettes and add a few lit ones. For electric smokers, set the temperature dial. If you have a pellet smoker, fill the hopper and set your desired temp. You might see some smoke and smell the oil burning off – that’s completely normal and what you want!
4. Add Some Wood for Flavor
After about an hour of just heat, add a few chunks of your favorite smoking wood. We often go with hickory or apple for a general-purpose seasoning. You’re not cooking food, but you’re getting some smoke flavor to permeate the metal. This makes a difference for that first meal.
The wood smoke helps build that protective creosote layer on the interior surfaces. Run the smoker with wood smoke for the remaining 1-2 hours of your seasoning process.
5. Let It Cool Down Naturally
Once your 2-3 hours are up, turn off the heat source. Do not open the lid immediately. Let the smoker cool down slowly and naturally. This helps the seasoning set properly. Rushing the cool-down can make the seasoning less effective.
Once cool to the touch, you might notice some dark, slightly tacky residue inside. That’s the patina forming! Give it a quick wipe with a clean, dry cloth if needed, but avoid vigorous scrubbing.
Post-Seasoning Checklist
You’ve done it! Your smoker is seasoned and ready for action. Here’s a quick checklist to make sure you’re good to go:
- Did you wipe it clean first?
- Was oil applied to all interior surfaces?
- Did the temperature hold steady for 2-3 hours?
- Did you add wood for the last hour or two?
- Did it cool down naturally?
- Does the inside feel less “new” and more “ready”?
Maintaining Your Smoker’s Seasoning
Seasoning isn’t a one-and-done deal. It’s an ongoing process. Every time you smoke, you’re adding to that protective layer. After each use, once the smoker is cool, scrape off any large food particles from the grates. Resist the urge to scrub too hard with harsh chemicals.
A simple wire brush or scraper is usually enough for grates. For the interior, a gentle wipe-down with a damp cloth is often sufficient. Some pitmasters like to do a mini-seasoning with a spray of cooking oil before each cook, especially on the grates. This keeps the seasoning robust.
If you find that your smoker’s interior seems less seasoned over time, or if you notice any signs of rust, don’t worry. You can always repeat the seasoning process. It’s a bit like giving your smoker a fresh coat of armor!