
How to Wrap a Brisket?
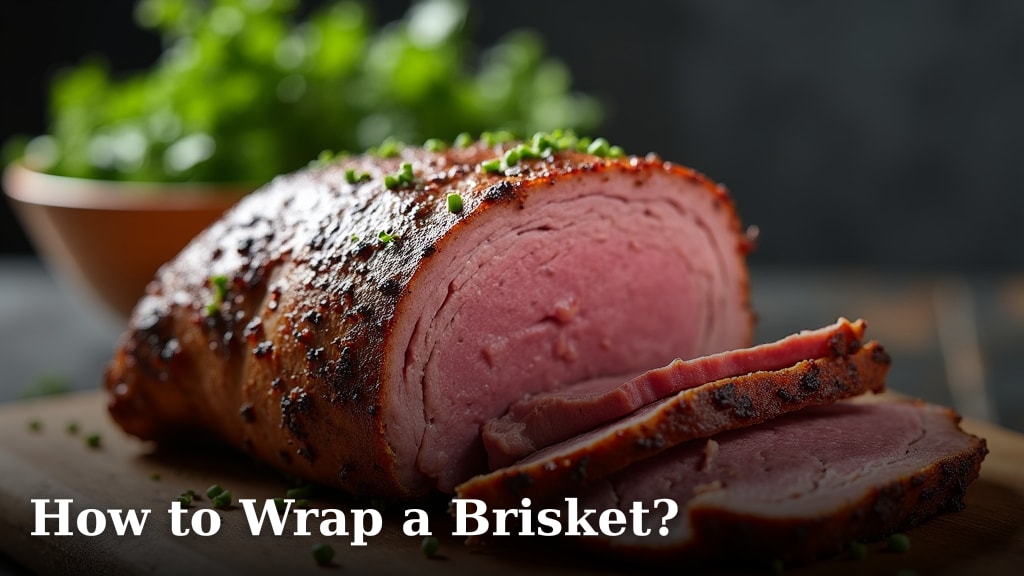
To wrap a brisket expertly, begin by tightly encasing it in butcher paper or foil once it reaches the stall phase, typically around 150-170°F internal temperature. This method helps the meat push through the stall and become tender and juicy.
Wrapping keeps your brisket from drying out during the long cooking process. It allows the meat to cook more evenly and retains moisture, resulting in that amazing bark and fall-apart texture you’re after. Many pitmasters say it’s a non-negotiable step for a truly great smoked brisket.
- Wrap brisket when it hits the “stall” (150-170°F).
- Use butcher paper for a breathable wrap.
- Foil is great for speed and moisture retention.
- Wrapping prevents drying and tenderizes the meat.
- Aim for an internal temperature of 203°F unwrapped.
Let’s walk through exactly how to master the art of wrapping your brisket, ensuring you get perfect results every time.
Preparing Your Brisket for the Wrap
Before you even think about wrapping, your brisket needs to reach a particular stage. We’re talking about the infamous “stall.” Understanding this phase is key to knowing when to wrap.
What is the Brisket Stall?
The brisket stall isn’t some mystical barbecue phenomenon; it’s basic science. As your brisket cooks, moisture evaporates from its surface, cooling the meat. This is called “evaporative cooling.” Imagine sweating on a hot day – it cools you down, right? The same thing happens with your brisket. We found that the stall typically occurs when the internal temperature hits anywhere from 150°F to 170°F. At this point, the evaporative cooling slows down the cooking process significantly (USDA Food Safety and Inspection Service).
The stall can be frustrating. Your brisket might sit at the same temperature for hours. But don’t fret; it’s a normal part of the process. Wrapping is your secret weapon to push through it efficiently.
Monitoring Internal Temperature Accurately
You can’t eyeball the stall. You need a reliable thermometer. A good quality, leave-in probe thermometer is essential for accuracy. Insert it into the thickest part of the flat, avoiding major fat pockets. This gives you the most precise reading.
Always calibrate your thermometer regularly. A simple ice bath test can confirm its accuracy. You want your readings to be spot-on, so you wrap at the perfect moment.
Choosing Your Wrapping Material
There are two primary contenders for wrapping a brisket: butcher paper and aluminum foil. Each has its pros and cons, and the best choice often depends on your desired outcome and preferences.
Butcher Paper: The Breathable Choice
Many pitmasters swear by butcher paper, especially uncoated or unwaxed pink butcher paper. It’s often called “peach paper” or “Texas crutch paper.” Its main advantage is its breathability. It allows some smoke to continue penetrating the meat and lets steam escape, which helps preserve the brisket’s flavorful bark.
- Pros: Maintains bark, allows smoke penetration, less chance of “steaming” the meat.
- Cons: Less effective at preventing moisture loss than foil, can be harder to achieve ultimate tenderness if not cooked properly.
- Best for: Those who prioritize a strong, peppery bark and don’t mind a slightly longer cooking time.
Aluminum Foil: The Speed and Moisture King
Aluminum foil is another popular option, often referred to as the “Texas crutch.” Foil creates a tighter seal around the brisket, trapping all the moisture and steam. This helps speed up the cooking process and results in an incredibly moist and tender product.
- Pros: Faster cooking, superior moisture retention, very tender results.
- Cons: Can soften the bark, less smoke penetration after wrapping, can “steam” the meat in its own juices.
- Best for: Those who want speed, maximum tenderness, and aren’t as concerned about a super crisp bark.
Comparing Your Wrapping Options
Let’s look at a quick comparison to help you decide. There’s no single “right” answer; it’s about what you value most for your brisket.
| Feature | Butcher Paper | Aluminum Foil |
|---|---|---|
| Bark Retention | Excellent | Fair (can soften) |
| Moisture Retention | Good | Excellent |
| Cooking Speed | Slower | Faster |
| Smoke Penetration After Wrap | Some | Minimal |
| Ease of Use | Moderate | Easy |
The Step-by-Step Wrapping Process
Okay, you’ve hit the stall, picked your wrapper – now let’s get wrapping! This isn’t just about covering the meat; it’s about creating a tight seal that works for your brisket.
Setting Up Your Wrapping Station
Preparation makes this process much smoother. Lay out a large sheet (or multiple overlapping sheets) of your chosen wrapping material. We find that about 6-8 feet of paper or foil is a good starting point for a standard packer brisket. You want plenty of overhang. Have your brisket ready, still on the cooking grate if possible, to minimize handling.
How to Wrap with Butcher Paper
Wrapping with butcher paper can feel a little like wrapping a holiday gift, just a meatier one. The goal is to create a snug, airtight package.
- Lay out at least two overlapping sheets of paper, lengthways.
- Place your brisket fat-side down on the paper, about 12-18 inches from one end.
- Pull the short end of the paper up and over the brisket, tucking it tightly underneath on the far side.
- Take one side of the paper and pull it tightly over the brisket, folding it under.
- Repeat with the other side, pulling it tight and folding it under.
- Now, roll the brisket tightly away from you, creating a sealed seam on the underside.
- Ensure there are no open gaps. If needed, add another layer of paper, wrapping in the opposite direction.
The key here is tightness. You want to eliminate air pockets as much as possible. This ensures even cooking and reduces the chances of drying out.
How to Wrap with Aluminum Foil
Foil is a bit more forgiving than paper, often easier to manipulate. You’re aiming for a robust, sealed pouch.
- Lay out a very long sheet of heavy-duty foil. For extra security, lay out two overlapping sheets.
- Place your brisket fat-side down in the center of the foil.
- Bring the long sides of the foil up and over the top, overlapping them in the middle of the brisket.
- Create a tight seam by folding the overlapping edges several times, like a French seam.
- Now, take the ends of the foil and fold them tightly against the brisket to seal. You’re creating a little foil boat for your brisket.
- Ensure the entire brisket is encased and there are no tears or openings. If you see any, add another layer of foil.
The goal with foil is to create a steamy environment inside. A good seal prevents that precious moisture and heat from escaping.
The Post-Wrap Cooking Phase
You’ve wrapped your masterpiece; now what? The cooking process isn’t over. In fact, this wrapped stage is where a lot of the magic happens for tenderness.
Returning to the Smoker or Oven
Once wrapped, put your brisket back on the smoker or transfer it to a preheated oven. We found that cooking wrapped brisket at the same temperature (around 225-275°F) is generally effective (Texas A&M AgriLife Extension Service). Or you can bump up the temperature slightly to finish faster, as smoke penetration is largely done.
Continue monitoring the internal temperature. Your target temperature for tenderness is usually around 200-205°F. But don’t just rely on temperature.
Checking for Tenderness: The Probe Test
This is crucial. Temperature alone doesn’t tell you if the collagen has broken down enough. You need to perform the “probe test.”
When the brisket approaches 200°F, gently insert your thermometer probe into the meat. It should slide in with very little resistance, like warm butter. If you feel much resistance, the brisket isn’t ready. Keep cooking, wrapped, until it feels perfectly tender.
Different parts of the brisket, especially the flat and the point, can cook at different rates. Probe in a few different spots to ensure consistent tenderness throughout your brisket.
The Importance of Resting Your Brisket
Wrapping isn’t just about cooking; it also plays a part in the resting phase. This stage is non-negotiable for a juicy brisket.
Resting for Optimal Juiciness
After your brisket passes the probe test, take it off the heat. Keep it wrapped! You can even add an extra layer of foil for insulation. Place it in a cooler without ice, or a warming oven set to its lowest temperature. Let it rest for a minimum of one hour, but two to four hours is ideal (Meathead Goldwyn, AmazingRibs.com). This allows the juices to redistribute throughout the meat, resulting in a significantly more tender and juicy slice.
Resist the urge to peek during the rest. Every time you open it, you lose valuable heat. Patience here truly pays off with unbelievable flavor and texture.
Brisket Wrapping Checklist
Here’s a quick recap of what to keep in mind when wrapping your brisket:
- Have a reliable meat thermometer.
- Wait for the brisket to hit the stall (150-170°F).
- Choose butcher paper for bark, foil for speed/moisture.
- Prepare your wrapping station beforehand.
- Wrap tightly, eliminating air pockets.
- Cook until “probe tender” (around 200-205°F).
- Rest for at least 2 hours, keeping it wrapped.
Conclusion
Wrapping your brisket is about more than just technique; it’s about understanding how your meat cooks and responding to its needs. By carefully monitoring temperature, choosing the right material, and executing a tight wrap, you unlock incredible tenderness and juiciness. You’ve learned how to navigate the stall and ensure your brisket emerges perfectly cooked. Don’t rush the process, especially the crucial resting phase.
Now that you’re equipped with this knowledge, go forth and smoke some exceptional brisket. Your taste buds (and your guests) will thank you.
Frequently Asked Questions
Can you wrap a brisket too early?
Yes, wrapping too early can prevent your brisket from developing a deep, flavorful bark. The initial unwrapped cook creates that desirable crust. Wait until the internal temperature is consistently between 150-170°F, past the initial bark formation.
Do I need to add liquid when wrapping brisket?
It’s generally not necessary, especially when using foil, which traps its own moisture. If you feel your brisket is drying out or want extra moisture, a splash of beef broth or apple cider vinegar can be added, but many pitmasters prefer to let the meat cook in its own juices.
How do I prevent my butcher paper from tearing during the wrap?
Use high-quality, unwaxed butcher paper and lay out two overlapping sheets for extra strength. Avoid sharp corners or bones on your brisket that could poke through. Be gentle but firm when folding and rolling to create a snug seal without excessive force.
Can I unwrap my brisket before the rest?
While you can, it’s not recommended if you want maximum juiciness and tenderness. Keeping it wrapped during the rest allows the internal temperature to slowly equalize and the muscle fibers to relax, redistributing those delicious juices evenly throughout the meat.
What if my brisket stall lasts a very long time?
A long stall is normal. Wrapping is designed to help push through it. If it’s taking excessively long even after wrapping, ensure your smoker temperature is stable and your thermometer is accurate. Sometimes a slight increase in cooker temperature (e.g., from 225°F to 275°F) after wrapping can help speed things up without sacrificing quality.
