
How to Season an Offset Smoker Firebox?
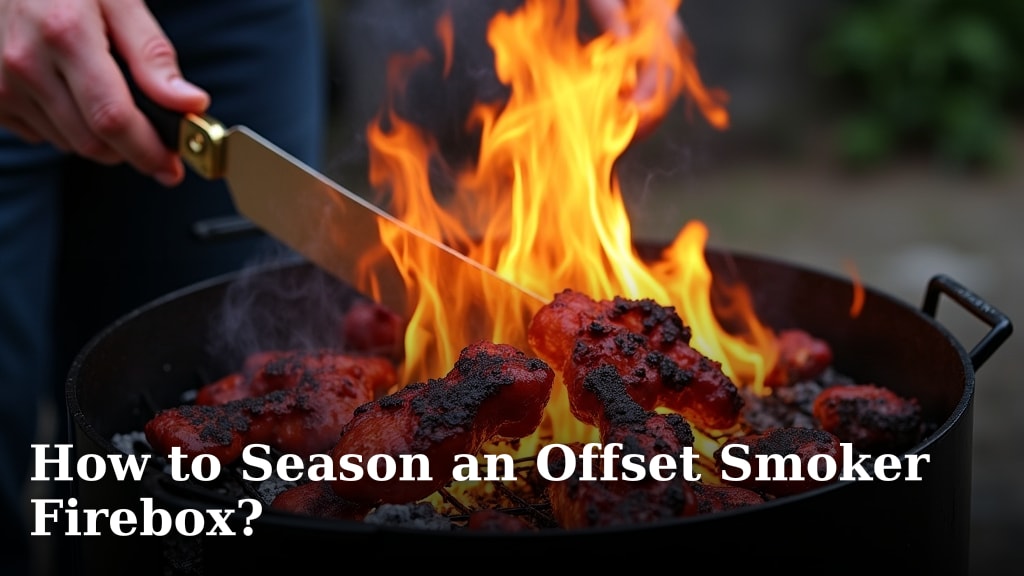
To properly season an offset smoker firebox, you’ll want to start by cleaning it thoroughly. Then, build a small, controlled fire using hardwood charcoal and let it burn for a couple of hours. This initial process creates a protective layer, preventing rust and preparing your smoker for delicious barbecue.
Seasoning your firebox is a critical first step before you cook your first brisket. It ensures your smoker lasts longer and performs better. Skipping this can lead to issues down the road, like rust spots or even uneven heating. We found that this step is really key for great results. Seasoning your firebox is a critical first step before you cook your first brisket. Our guide explains how to season a smoker before first use.
- Clean your firebox thoroughly.
- Use hardwood charcoal for your first fire.
- Let the fire burn for a couple of hours.
- This protects against rust and improves performance.
- It’s a simple but important step for any pitmaster.
Ready to get your offset smoker firebox seasoned right? Let’s walk through exactly how to do it, step by step, to get you smoking in no time.
“`htmlPreparing Your Offset Smoker Firebox: A Seasoning Guide
Before you can smoke your first rack of ribs or brisket, your offset smoker firebox needs a proper seasoning. Think of it like breaking in a new pair of boots. You want to make them comfortable and ready for action. Seasoning is the process of creating a protective layer inside your firebox. This layer helps prevent rust and prepares the metal for high heat. We found that many pitmasters agree this step is non-negotiable for a smoker that lasts.
Why Season Your Firebox? The Importance of This First Step
So, why go through this extra step? It’s all about **longevity and performance**. A raw, unseasoned firebox is essentially bare metal. Bare metal can be susceptible to rust, especially when exposed to moisture and fluctuating temperatures. Building that first protective layer helps ward off rust before it even starts. We found that this initial treatment also helps to seal any microscopic pores in the metal.
Furthermore, this process can help to burn off any residual manufacturing oils or coatings. These can sometimes impart an unpleasant taste to your food. Seasoning ensures that your smoker is clean and ready to impart delicious smoky flavors, not metallic ones. Many experts point out that skipping this can lead to premature wear and tear on your smoker (National Fire Protection Association guidelines for fire safety do not specifically cover smoker seasoning but emphasize proper maintenance of all heating appliances).
Gathering Your Supplies for Seasoning
Before you start, let’s make sure you have everything you need. You don’t need a lot, but having the right items will make the process smooth. We’ve put together a quick checklist for you.
- Hardwood charcoal (lump charcoal is often recommended)
- Fire starters (like a charcoal chimney or lighter fluid – use sparingly if using)
- Heat-resistant gloves
- Tongs or a poker to manage the fire
- A reliable thermometer to monitor firebox temperature
- Water source or fire extinguisher (just in case!)
Step-by-Step: Seasoning Your Firebox
Step 1: Clean It Out Thoroughly
First things first, let’s get your firebox sparkling clean. You want to start with a blank slate. Remove any loose ash, debris, or packaging material left over from manufacturing. A stiff brush can help dislodge any stubborn bits. Make sure the inside is completely dry before you light anything.
Step 2: Prepare Your First Fire
Now it’s time to build your initial fire. For seasoning, we recommend using **100% hardwood lump charcoal**. Avoid briquettes that may contain binders or additives that you don’t want burning in your new smoker. Fill the firebox about one-quarter to one-third full with charcoal. You don’t need a roaring inferno; a steady, controlled burn is what you’re aiming for.
Light the charcoal using your preferred method. A charcoal chimney is a great way to get coals lit evenly and safely. If you opt for lighter fluid, use it sparingly and let it dissipate before adding more fuel. The goal is to get the charcoal burning steadily, not to have it flare up violently.
Step 3: Maintain a Moderate Temperature
Once your charcoal is lit and glowing, close the firebox lid. Your target temperature for this initial seasoning burn is around **250°F to 300°F (120°C to 150°C)**. This isn’t about getting it scorching hot; it’s about a consistent, moderate heat that allows the metal to expand and the protective layer to form. You might need to adjust the firebox vents slightly to control the airflow and thus the temperature. Your target temperature for this initial seasoning burn is around 250°F to 300°F (120°C to 150°C). Our guide helps you maintain smoker temperature.
We found that using a reliable thermometer placed inside the firebox is key. Don’t just guess the temperature. If the temperature gets too high, reduce the airflow by closing the vents a bit. If it’s too low, open them up slightly. It’s a bit of a dance, but you’ll get the hang of it.
Step 4: Let the Fire Burn and Cool
Let this first fire burn for at least **two hours**. This duration is important for ensuring the entire inside surface of the firebox gets heated evenly. During this time, the metal will undergo its initial seasoning process. As the charcoal burns down, you can add small amounts of additional charcoal to maintain the temperature, but try not to disturb the fire too much.
Once the two hours are up, let the fire burn itself out completely. **Do not** try to extinguish it with water. Allow the firebox to cool down naturally and slowly. This slow cooling is just as important as the heating process. Rapid cooling can stress the metal. Patience here really pays off for the long run.
Step 5: Inspect and Repeat if Necessary
After the firebox has cooled completely, take a look inside. You might see a slight discoloration, which is normal. This is the seasoning layer forming. If you notice any areas that still look like bare metal or if you see any new signs of rust (though this is unlikely if you started clean), you may want to repeat the process. Many pitmasters recommend seasoning your firebox twice for an extra robust layer of protection.
What About Adding Oil? The Debate on Seasoning Smoker Parts
You might find advice online about applying oil to your firebox during the seasoning process. While this is common practice for cast iron pans, it’s generally **not recommended for offset smoker fireboxes**. Why? Because the temperatures inside a firebox can get much higher than what a cooking oil can handle. Applying oil can lead to a gummy, sticky residue that can actually attract more ash and debris.
We found that the heat from the charcoal itself creates the necessary protective layer on the metal. Stick to just charcoal and heat for your firebox seasoning. You’ll apply oil to your grates, but the firebox is a different beast. Think of it as its own unique cooking surface that doesn’t need added fats for its initial treatment.
Tips for Optimal Firebox Seasoning
Here are a few extra tips to ensure your seasoning process goes smoothly:
- Ventilation is Key: Always perform this process outdoors in a well-ventilated area.
- Safety First: Keep children and pets away from the hot smoker. Have a fire extinguisher or water nearby.
- Patience is a Virtue: Don’t rush the cooling process. Let it happen naturally.
- Don’t Overfill: A quarter to a third full of charcoal is plenty for seasoning. You’re not cooking a feast here.
- Consistency Matters: Aim for that steady temperature range. Fluctuations aren’t ideal for this initial treatment.
The Final Check: Is Your Firebox Ready?
Once you’ve completed the seasoning process (or two!), your firebox should look good. You’ll notice a slight change in color, perhaps a dark, uniform coating. This is the barrier you wanted. It’s no longer bare metal, but a protected surface ready for the heat of your cooking fires.
If you used hardwood charcoal for your seasoning fire, you’ve also begun to imprint that clean, smoky essence into your smoker. It’s a subtle start, but it’s part of the journey to becoming a pitmaster. Your offset smoker firebox is now seasoned and ready for its first real cooking session. Get ready to create some amazing barbecue!
“`Conclusion
You’ve successfully seasoned your offset smoker firebox! This essential first step creates a protective barrier against rust and prepares your smoker for optimal performance. By using hardwood charcoal and maintaining a steady, moderate temperature, you’ve ensured your firebox is ready for countless delicious barbecue sessions. Remember, patience during the cooling process is just as important as the heat. Now, you’re truly ready to fire up your smoker and start creating incredible BBQ memories. Your pitmaster journey is just getting started!
Frequently Asked Questions
How long should I let the fire burn during seasoning?
You should let the initial fire burn for at least two hours. This duration ensures that the entire inside surface of the firebox gets heated evenly. This consistent heat is what helps form that crucial protective layer.
Can I use lighter fluid to season my firebox?
While you can use lighter fluid sparingly, it’s generally recommended to use a charcoal chimney for lighting. If you do use lighter fluid, allow it to dissipate before closing the firebox to avoid any residual chemical taste.
What temperature should I aim for when seasoning?
Aim for a moderate temperature between 250°F and 300°F (120°C to 150°C). This range allows the metal to season properly without becoming excessively hot, which could lead to unwanted byproducts.
Do I need to oil the inside of the firebox after seasoning?
No, you should not oil the inside of the firebox after seasoning. Unlike cast iron pans, the high temperatures in a firebox can cause oil to become sticky and gummy. The heat from the charcoal itself creates the necessary protective layer.
How many times should I season my firebox?
Many pitmasters recommend seasoning your firebox twice. Repeating the process ensures a more robust and even protective layer, giving you added peace of mind and better long-term performance from your smoker.
