
How to Smoke Tri Tip?
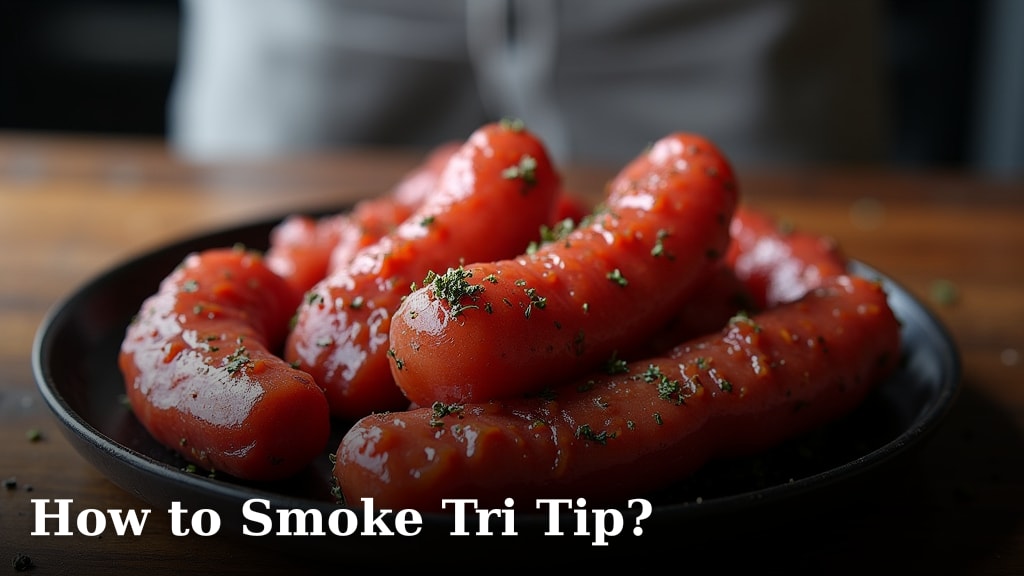
You can absolutely smoke a tri-tip to amazing, tender perfection. The secret is a low and slow smoking method followed by a quick sear. This approach ensures the meat becomes incredibly juicy and flavorful. We found that treating tri-tip like a brisket or pork shoulder yields the best results. If you enjoy smoking tougher cuts, our guide to smoking a pork butt offers valuable insights.
Smoking tri-tip is a fantastic way to elevate this often-overlooked cut of beef. It transforms a budget-friendly steak into a barbecue showstopper. Many pitmasters agree that patience is key for achieving that signature smoky bark and melt-in-your-mouth texture. Get ready for your friends to be seriously impressed.
- Smoke at a low temperature (around 225°F).
- Use a binder and your favorite rub.
- Cook until internal temperature reaches about 180-190°F.
- Rest the meat properly.
- Sear for a nice crust.
Let’s walk through exactly how to achieve a mouthwatering smoked tri-tip, step by step. You’ll be a pro in no time.
Mastering the Art of Smoked Tri-Tip
You’re about to learn how to smoke a tri-tip to juicy perfection. This method turns a leaner cut of beef into something truly special. We found that a gentle, slow smoke followed by a quick, hot sear is the winning combination. It gives you that wonderful smoky flavor and tender bite.
Choosing Your Tri-Tip: The Foundation of Flavor
Before you even think about smoke, let’s talk about the star of the show: the tri-tip. This cut comes from the bottom sirloin. It’s triangle-shaped, hence the name. Because it’s leaner than other cuts, it can dry out if not cooked with care.
When you’re at the butcher counter or grocery store, look for a tri-tip that has good marbling. Marbling refers to the little flecks of fat within the meat. This fat will melt as it cooks, adding moisture and flavor. A tri-tip that’s about 1.5 to 2 pounds is a great size to start with.
Preparation is Key: Rubs, Binders, and Getting Ready
Now for the fun part: seasoning! This is where you build the first layer of flavor. Many people wonder what kind of rub works best. For tri-tip, a simple rub often lets the beef flavor shine through. But you can get creative!
The Binder: Helping the Rub Stick
Think of a binder as the glue that holds your rub to the meat. You don’t need much. A thin layer is all it takes. Many pitmasters use simple ingredients for this purpose. Water works perfectly fine. Mustard is another popular choice. Some folks even use olive oil or Worcestershire sauce.
Apply your chosen binder evenly over the entire surface of the tri-tip. Don’t soak it; just a light coating is sufficient. The goal is to give the rub something to cling to. We found that mustard adds a subtle tang that complements the beef really well.
The Rub: Building Your Flavor Profile
This is where you can truly make the tri-tip your own. A classic beef rub usually includes salt, pepper, and garlic powder. That’s a fantastic starting point. Many people add onion powder, paprika, or a touch of cayenne for a little heat.
For a tri-tip, we recommend a good quality coarse salt and coarse black pepper. About a 1:1 ratio of salt to pepper is a common guideline. Then, add garlic powder to your liking. Don’t be shy with the rub; you want a nice, even coating on all sides. Many experts suggest applying the rub generously, as some will fall off during the smoking process.
Allow the seasoned tri-tip to sit at room temperature for about 30-60 minutes before putting it on the smoker. This helps the salt begin to break down and penetrate the meat. Some researchers point out that bringing meat closer to room temperature before cooking can help it cook more evenly.
Setting Up Your Smoker: The Low and Slow Approach
The magic of smoked tri-tip happens at a low temperature. You’re not trying to grill it quickly; you’re coaxing out tenderness and flavor over time. This slow cooking process is what differentiates it from a regular steak.
Target Temperature: Keeping it Cool
For smoking tri-tip, aim for a smoker temperature between 225°F and 250°F. We found that 225°F gives you a deeper smoke penetration. However, 250°F can speed up the cooking time a bit without sacrificing too much flavor. Consistency is more important than hitting an exact number. Keep your smoker as steady as possible.
Wood Choice: Adding That Smoky Aroma
What kind of wood should you use? For beef, wood types that pair well include oak, hickory, and mesquite. Pecan wood offers a milder, sweeter smoke that many enjoy. Fruitwoods like apple or cherry can also be used for a lighter smoke profile.
Many pitmasters prefer a blend of woods. We found that a combination of hickory and oak provides a balanced, robust smoke that doesn’t overpower the beef. If you’re using a pellet grill, you can often choose specific wood blends. For charcoal smokers, use wood chunks or chips.
The Smoking Process: Patience and Probing
Now your smoker is ready, and your tri-tip is seasoned. It’s time to put them together. This is where you’ll need a bit of patience. Remember, low and slow is the name of the game.
Smoking Time: It’s About Temperature, Not Time
It’s impossible to give an exact smoking time for tri-tip because every piece of meat is different. Factors like thickness, marbling, and your smoker’s temperature fluctuations all play a role. Instead of watching the clock, you’ll want to rely on an internal meat thermometer.
Place your seasoned tri-tip on the smoker. You can place it directly on the grates. Many people like to place it fat-side up, if there’s a noticeable fat cap. This allows the rendered fat to baste the meat as it cooks. Close the lid and let the smoke work its magic.
Hitting the Target Temperature: The ‘When to Pull’ Moment
We’re aiming for a tender, juicy result. For smoked tri-tip, the target internal temperature before the sear is around 180°F to 190°F. This temperature range is higher than you’d typically aim for when grilling, but it’s essential for breaking down connective tissues and achieving that melt-in-your-mouth texture.
Use a reliable meat thermometer to check the temperature in the thickest part of the tri-tip, avoiding any large pockets of fat. You might notice a “stall” where the temperature seems to stop rising for a while. This is normal and part of the smoking process. Just keep the smoker lid closed and maintain your target temperature.
The Sear: Creating That Irresistible Crust
Once your tri-tip has reached that 180-190°F internal temperature, it’s time for the finishing touch: the sear. This quick, high-heat blast creates that beautiful, flavorful crust we all love. Many pitmasters consider this step non-negotiable for the best smoked tri-tip.
Grill or Cast Iron: Your Searing Options
You have a couple of great options for searing. If you have a gas grill, you can crank up the heat to high. If you’re using a charcoal grill, get the coals nice and hot. A cast-iron skillet is also an excellent choice for searing indoors or outdoors.
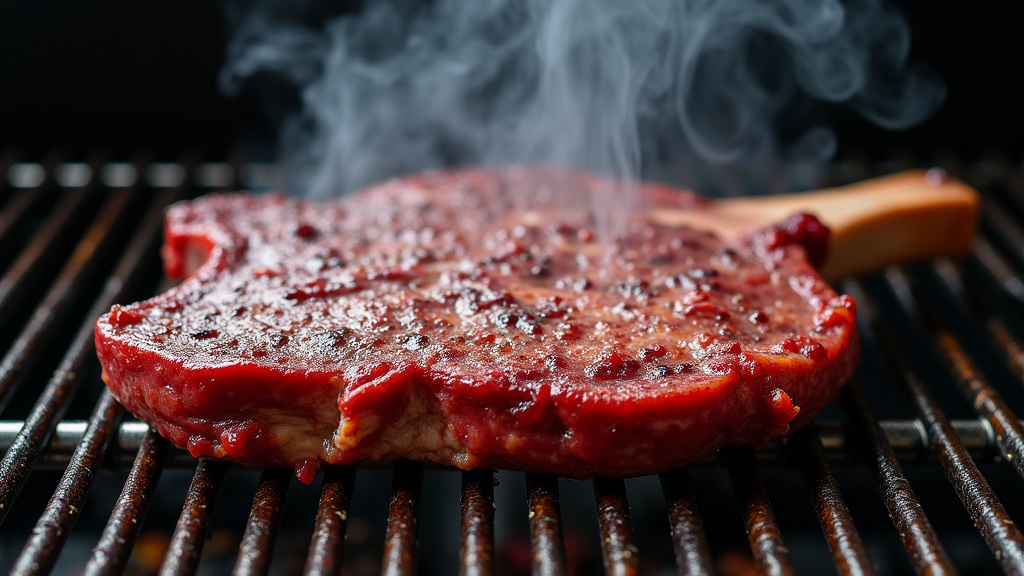
For the grill method, preheat your grill to a high temperature (around 500-600°F). Remove the tri-tip from the smoker. Sear each side for about 60-90 seconds, just enough to get a good char. Be careful not to overcook it during this stage; you’re just looking for color and a bit more texture.
If you opt for a cast-iron skillet, get the skillet screaming hot over high heat. Add a tablespoon of high-smoke-point oil, like canola or grapeseed oil. Carefully place the tri-tip in the hot skillet and sear for about 60-90 seconds per side. You should hear a satisfying sizzle. This method can create an incredible crust.
The Crucial Rest: Allowing Juices to Redistribute
This is arguably the most important step, and one that many people rush. After all that smoking and searing, your tri-tip needs to rest. This allows the juices to redistribute throughout the meat, resulting in a more tender and flavorful final product.
Take the tri-tip off the heat and place it on a clean cutting board or a tray. Tent it loosely with foil. Resist the urge to cut into it immediately. Allow it to rest for at least 10 to 15 minutes. Many experts recommend resting for up to 20 minutes for larger cuts.
During the rest, the internal temperature will continue to rise slightly, known as carryover cooking. This is perfectly fine. Cutting too soon will cause all those delicious juices to run out onto the cutting board, leaving you with a drier piece of meat. We found that a good rest makes a noticeable difference in juiciness.
Slicing and Serving: The Grand Finale
You’ve put in the work, and now it’s time to enjoy the fruits of your labor! The final step is slicing your beautifully smoked tri-tip. It’s important to slice it correctly to maximize tenderness.
Against the Grain: The Secret to Tender Slices
Tri-tip has a unique grain pattern. You’ll notice the muscle fibers run in one direction. To get the most tender bite, you need to slice against the grain. This means cutting perpendicular to the direction of the muscle fibers.
Look closely at the meat. You should be able to see the direction the fibers are running. Place your knife perpendicular to those fibers and slice. Slicing with the grain would result in longer, chewier strands of meat. We found that slicing thinly against the grain makes every bite easier to chew and more enjoyable.
Quick Checklist for Smoked Tri-Tip Success
- Choose a tri-tip with good marbling.
- Apply a thin binder and then a generous rub.
- Smoke at 225-250°F until internal temp reaches 180-190°F.
- Sear on high heat for a flavorful crust.
- Rest the meat for at least 10-15 minutes.
- Slice thinly against the grain.
Conclusion
You’ve now got the roadmap to smoking a tri-tip that will impress everyone at your next cookout. Remember, the key is a low and slow smoke followed by a quick, high-heat sear. This method transforms a humble cut into a tender, flavorful masterpiece. Don’t skip the crucial resting period or the final slice against the grain. Your patience will be rewarded with juicy, smoky perfection. Now go forth and smoke that tri-tip!
Frequently Asked Questions
What’s the best wood to use for smoking tri-tip?
Oak, hickory, and mesquite are excellent choices for beef, offering a robust smoke. Pecan or fruitwoods like apple provide a milder, sweeter profile. Many pitmasters find a blend, such as hickory and oak, delivers a balanced flavor without overpowering the tri-tip.
Can I smoke a tri-tip without searing it?
While you can skip the sear, it’s highly recommended for the best results. The sear adds a delicious crust and enhances the overall flavor and texture. Without it, your tri-tip will be tender but may lack that satisfying, flavorful exterior.
Why is my smoked tri-tip dry?
A dry tri-tip is often due to not resting the meat long enough, slicing with the grain, or cooking it past its ideal internal temperature without proper fat content. Ensuring you smoke it to 180-190°F and then resting it for at least 15 minutes is key to retaining moisture.
How do I know when to take the tri-tip off the smoker?
You’ll want to pull the tri-tip when its internal temperature reaches between 180°F and 190°F in the thickest part. This temperature range is crucial for breaking down connective tissues and achieving that tender, melt-in-your-mouth texture associated with smoked meats.
What’s the difference between smoking and grilling tri-tip?
Grilling tri-tip is a fast, high-heat process that cooks it quickly to medium-rare or medium. Smoking tri-tip is a low-and-slow method, cooking it at lower temperatures for several hours to achieve tenderization and infuse it with smoky flavor, usually finishing with a sear.
