
How to Use a Smoker for Beginners?
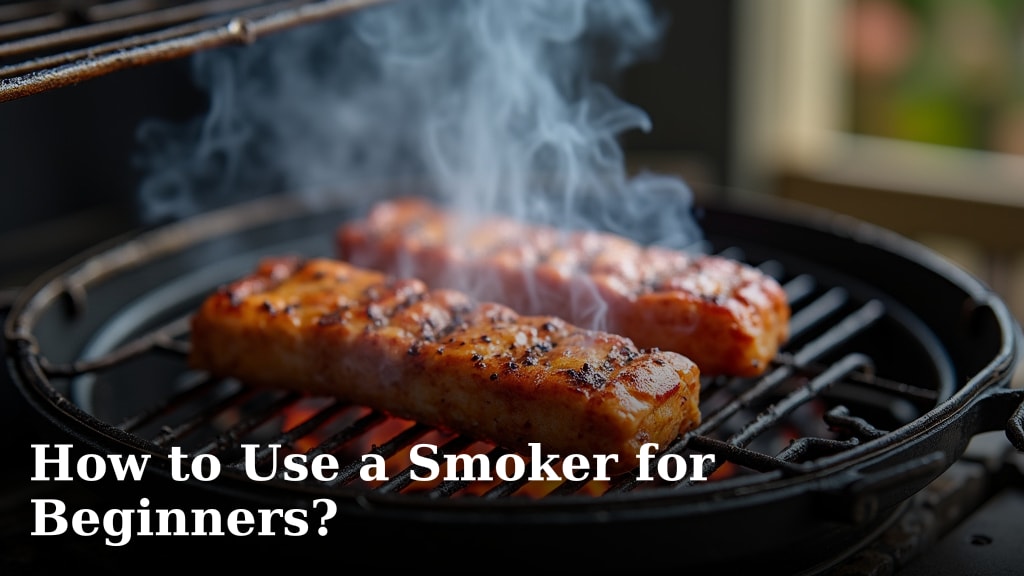
To use a smoker for beginners, start by understanding that low and slow is the key. You’ll need to season your smoker first, then master temperature control and proper wood chip placement. The goal is perfectly smoked, tender food that will impress everyone.
Smoking meat might seem tricky at first, but with a few simple steps, you’ll be a pro. We found that many home cooks overlook the initial setup, which is crucial for great results. Don’t worry, we’ll guide you through each stage to make sure your first few smokes are a success. Soon you’ll be enjoying that delicious smoky flavor.
- Season your new smoker for best performance.
- Understand and control your smoker’s temperature.
- Choose the right wood chips for your food.
- Prepare and load your meat correctly.
- Monitor and enjoy the smoking process.
Ready to create perfectly smoked dishes right in your backyard? Let’s walk through exactly how to set up and use your smoker, step by step, for mouth-watering results every time.
Setting Up Your Smoker for Great Results
To use a smoker effectively, you need to understand its parts and how to prepare it. This makes sure your first cook is a success. Think of it like a new car; you wouldn’t drive it without knowing the basics, would you?
Understanding Your Smoker’s Components
Before you even think about lighting a fire, let’s get familiar with what you’re working with. Most smokers, whether electric, gas, or charcoal, have similar key parts. Knowing these will help you troubleshoot later.
Essential Parts of a Smoker
- Firebox/Heat Source: This is where the magic begins. It holds your charcoal, wood, or electric heating element. It’s the engine of your smoker.
- Water Pan: This pan sits above the heat source. It adds moisture to the cooking chamber. This keeps your meat juicy and helps stabilize temperature. Almost every smoker has this.
- Cooking Grates: These are exactly what they sound like. They hold your food. Make sure they are clean and sturdy.
- Dampers/Vents: These are crucial for controlling airflow and temperature. You’ll usually find them at the bottom (for air intake) and top (for smoke exhaust). Mastering these is a game-changer.
- Thermometer: Most smokers come with a built-in thermometer. However, we found that many are not always accurate. Investing in a good digital thermometer can make a huge difference.
Seasoning Your New Smoker
You wouldn’t cook in a new cast iron pan without seasoning it first, right? The same goes for your smoker. This initial seasoning is a vital step often overlooked by beginners. It removes factory oils and creates a protective, non-stick layer. It also burns off any lingering chemical smells.
For most smokers, seasoning involves running it empty at about 250-275°F for 2-3 hours. Add some wood chips during this process to start building that smoky flavor. Make sure you follow your manufacturer’s specific instructions for seasoning. This step is about preparation, not cooking.
Mastering Temperature and Smoke Control
The heart of successful smoking lies in consistent temperature and proper smoke. This is where “low and slow” truly comes into play. It’s a balance of heat and airflow. Don’t worry, it gets easier with practice.
Achieving Consistent Temperature
Temperature control is probably the biggest challenge for beginners. Your goal is to keep your smoker within a fairly tight temperature range, usually 225-275°F. This slow cooking breaks down tough fibers in meat, making it incredibly tender.
- Use Good Fuel: For charcoal smokers, use lump charcoal for a cleaner burn and better heat control. Avoid briquettes with lighter fluid.
- Manage Your Air Vents: This is your primary tool for temperature control. More open bottom vents mean more oxygen, leading to hotter temperatures. Close them a bit to lower the heat. The top vent should always be at least partially open to allow smoke to escape.
- Avoid Frequent Peeking: Every time you open the lid, you lose heat and smoke. “If you’re looking, you’re not cooking,” is a common saying among pitmasters. Try to only open it when necessary.
- Trust Your Thermometer: As mentioned, an external, accurate probe thermometer is your best friend. Place the probe near your food, not just in the lid thermometer.
Choosing and Using Wood Chips
The wood you choose adds that amazing smoky flavor. It’s like choosing the right spice for a dish. Different woods impart different strengths and flavor profiles. Experiment to find your favorites!
Types of Smoking Woods and Their Pairings
Here’s a quick guide to some popular wood choices:
| Wood Type | Flavor Profile | Best With |
|---|---|---|
| Hickory | Strong, bacon-like | Pork (ribs, pulled pork), Beef (brisket), Chicken |
| Apple | Sweet, mild, fruity | Pork, Chicken, Turkey, Fish |
| Cherry | Mild, sweet, fruity, gives nice color | Pork, Beef, Chicken, Duck |
| Oak | Medium, slight nutty flavor | Beef (brisket, roasts), Pork, Lamb |
| Mesquite | Very strong, pungent | Beef (brisket), sometimes bolder cuts of Pork |
Remember that a little goes a long way with strong woods like mesquite. You’re aiming for a pleasant aroma, not an overpowering one. For most cooks, a handful of wood chips every 30-60 minutes is sufficient. Don’t overdo it!
Many beginners soak wood chips before use, but we found that soaking doesn’t actually produce more smoke. It just delays the smoke production and can cool your smoker. We recommend using dry wood chips for consistent smoke production.
Preparing Your Food for the Smoker
Proper food preparation is just as important as smoker control. This includes trimming, seasoning, and monitoring the internal temperature. These steps ensure juicy, flavorful results.
Trimming and Seasoning Your Meat
Once you’ve picked your meat, it’s time to get it ready. For larger cuts like briskets or pork butts, some trimming might be needed. You want to leave a thin layer of fat, called the fat cap. This helps keep the meat moist during the long cook.
Then comes the seasoning. A good rub not only adds flavor but can also help form a delicious “bark” on the exterior of your meat. Apply your rub generously, pressing it into all surfaces. For best results, let the seasoned meat sit in the fridge for a few hours, or even overnight. This allows the flavors to soak in.
Loading and Monitoring the Cook
When your smoker is at its target temperature and producing thin, blue smoke (often called “thin blue smoke of deliciousness”), it’s time to load your food. Place your meat directly on the grates, leaving space between pieces for smoke and heat to circulate. Don’t overcrowd your smoker.
Insert your reliable probe thermometer into the thickest part of the meat, avoiding bones. This is crucial for food safety and doneness. Many guidelines point to 145°F for pork and beef roasts, and 165°F for poultry (USDA).
Resist the urge to constantly check your food. Each time you open the lid, you add time to your cook. Just monitor your smoker’s temperature and your meat’s internal temperature. Patience is truly a virtue in smoking.
Towards the end of the cook, many people wrap their meat in butcher paper or foil. This is called the “Texas Crutch.” It helps push the meat through the stall (when the temperature stops rising) and keeps it moist. It’s a great trick for beginners to try.
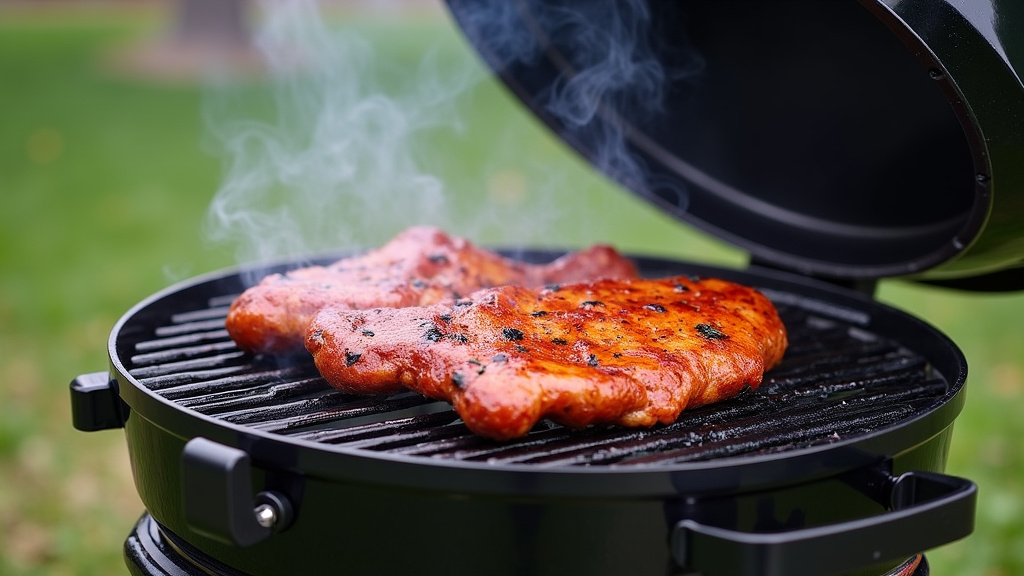
Your First Smoker Checklist
Here’s a quick reminder of the key steps for your first successful smoking adventure:
- ✅ Read Your Smoker Manual: Get to know your specific model.
- ✅ Season Your Smoker: Burn off factory oils before cooking.
- ✅ Get a Good Thermometer: An accurate meat probe is essential.
- ✅ Choose Your Wood Wisely: Match wood flavor to your food.
- ✅ Trim and Season Meat: Prepare your food for flavor and moisture.
- ✅ Maintain Temperature: Use vents for consistent heat.
- ✅ Resist the Urge to Peek: Let the smoker do its job.
Conclusion
You now have the essential knowledge to start your smoking journey. Remember that practice makes perfect. Don’t be afraid to experiment with different woods and rubs. Every cook is a learning experience. With patience and attention to detail, you will soon be creating delicious, smoky masterpieces. Get ready to enjoy incredible food and become the envy of your friends and family!
Frequently Asked Questions
How long does it typically take to smoke a rack of ribs?
Smoking ribs can vary, but a good rule of thumb is 5-6 hours for spare ribs and 3-4 hours for baby back ribs, cooked at 225-250°F. The “bend test” is a great way to check for tenderness. They’re done when they feel flexible.
Can I use regular BBQ briquettes in my smoker?
While you can use regular briquettes, we advise against those treated with lighter fluid. They can impart off-flavors to your food. Opt for natural lump charcoal or hardwood briquettes for a cleaner burn and better smoke flavor.
What’s the difference between “white smoke” and “thin blue smoke”?
White smoke often means incomplete combustion and can make food taste bitter. Thin blue smoke indicates a clean-burning fire and is what you want for the best smoky flavor. Adjust your air vents to achieve this ideal smoke.
Do I need to soak wood chips before adding them to the smoker?
No, soaking wood chips is generally unnecessary. Wet chips will steam and delay smoke production. Dry wood chips ignite faster and produce that desirable thin blue smoke more consistently from the start of your cook.
What if my smoker’s temperature keeps fluctuating wildly?
Wild temperature swings can be frustrating. First, check your fuel quality and quantity. Next, ensure your vents are properly set and not jammed. Opening the lid too often is a common culprit; try to keep it closed as much as possible.
